Creating Angular Micro Frontends with Native Federation
Angular continues to evolve, introducing significant improvements for developers. Since Angular v17, the Angular CLI has adopted an ESBuild-based builder, replacing the original Webpack solution. Additionally, the use of modules is no longer required, as Angular now favors Standalone Components.
In the realm of micro-frontends (MFE), Module Federation plays a key role in enabling the creation of modular, scalable, and maintainable web applications by composing independently developed parts at runtime. This approach was first introduced in Webpack 5, bringing the microservices concept to the frontend.
Native Federation is an emerging technique that leverages native JavaScript functionalities and ECMAScript modules (ESM) to implement micro frontends without build tools like Webpack. It uses dynamic imports and the ESM system to federate modules, simplifying the process.
With Angular CLI’s shift from Webpack to ESBuild, new challenges arise when adopting the MFE architecture. This is where Native Federation becomes particularly relevant, especially for projects using Angular v17 or newer versions.
In this tutorial, we’ll build a simple MFE using Angular and Native Federation, utilizing the @angular-architects/native-federation package to streamline the development process.
Creating the Angular workspace
Begin by creating a new Angular workspace to host your different MFEs. Ensure you have the Angular CLI installed locally, then run:
ng new angular-mfe-native-federation --create-application=false
This generates a clean workspace for developing various projects using the MFE architecture.
The following image is the output of the previous command:

Creating the Angular applications/projects
Next, generate the applications. We’ll create a Shell application and a Products application (our first MFE). For simplicity, we’ll limit it to these two for now.
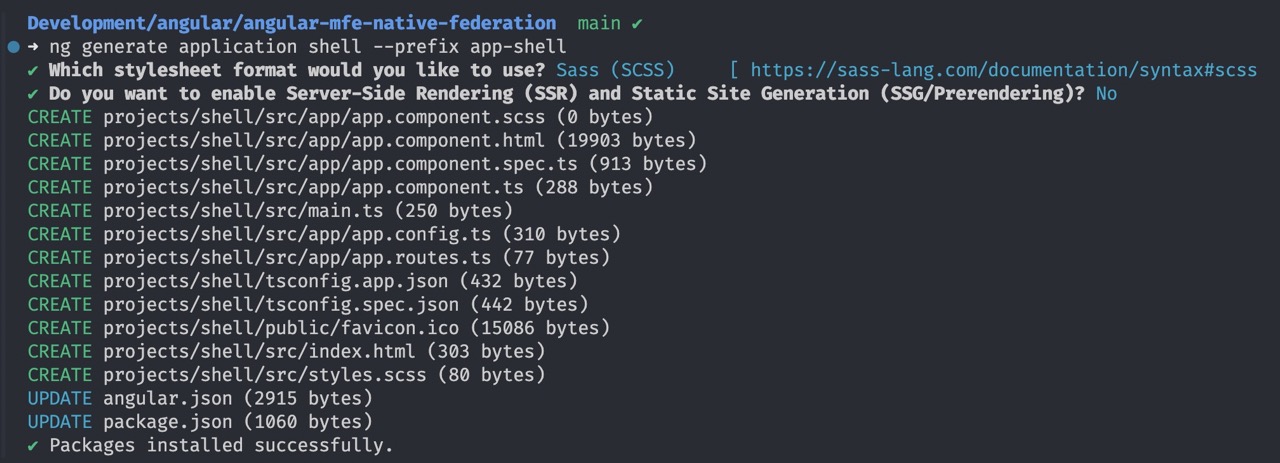
To generate the Shell application, run:
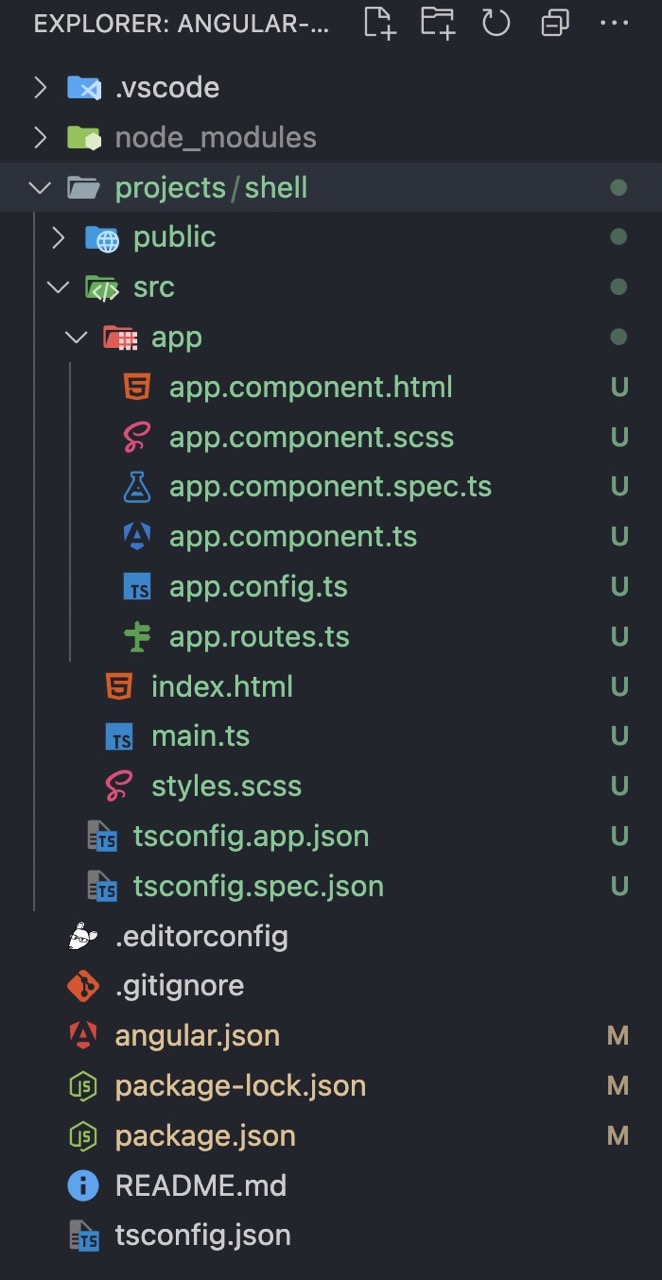
ng generate application shell --prefix app-shell
You should see a newly created project:

Now, repeat the command for the Products application:
ng generate application products --prefix app-products
You now have two applications within your workspace.
Adding Angular Material
To help style the applications, we’ll use Angular Material. Use the following schematic:
ng add @angular/material
You may encounter errors, so ensure Angular Material is added to each project individually as well:
ng add @angular/material --project shell
ng add @angular/material --project products
Fixing the styles for each project
If the styles don’t display correctly after adding Angular Material, open the angular.json file and check for the styles.scss. Ensure the selected Material theme is listed:
"styles": [
  "@angular/material/prebuilt-themes/azure-blue.css",
  "projects/shell/src/styles.scss"
],
With this change, the CSS should display correctly when running and building the projects.
Adding Native Federation to the project
To enable the MFE concept, add Native Federation by installing:
npm i -D @angular-architects/native-federation
This package will be installed as a development dependency and will also add the required production dependencies to the package.json file.
Configuring the Shell (host) application
Next, configure the Shell as the host capable of loading the remotes (MFEs):
ng g @angular-architects/native-federation:init --project shell --port 4200 --type dynamic-host
The Shell application will run on port 4200.
Let’s focus on the development of this project before we move on to the next one.
Creating a Header component
Generate a header component for navigation between MFEs using Angular CLI:
ng g c header --project shell
Note that by default, all components are Standalone and we’re no longer using NgModules.
Update the header.component.html with:
<mat-toolbar>
  <button mat-icon-button [routerLink]="['/']">
    <mat-icon>home</mat-icon>
  </button>
  <button mat-button [routerLink]="['/products']">
    Products
  </button>
</mat-toolbar>
It’s a simple Material toolbar with a home icon that allow us to go back to the home page, and a button that allows the user to navigate to the Products application.
The header.component.ts file will look like the following:
import { Component } from '@angular/core';
import { MatButtonModule } from '@angular/material/button';
import { MatIconModule } from '@angular/material/icon';
import { MatToolbarModule } from '@angular/material/toolbar';
import { RouterLink } from '@angular/router';

@Component({
  selector: 'app-shell-header',
  imports: [RouterLink, MatIconModule, MatToolbarModule, MatButtonModule],
  templateUrl: './header.component.html'
})
export class HeaderComponent { }
We’re importing the required Material modules. As this component is simply being used for routing, we don’t need to add any logic as Angular will take care of it for us. And given we don’t need any custom CSS for this example, we can also delete the header.component.scss file, along with its entry in the HeaderComponent.
Creating a Home component
Next, Generate a basic home page that can be displayed by default when we load our Angular application:
ng g c header --project shell
This component will display a Material Card with the word ‘Home’ in it. Here is the content for the home.component.ts file:
import { Component } from '@angular/core';
import { MatCardModule } from '@angular/material/card';

@Component({
  selector: 'app-shell-home',
  imports: [MatCardModule],
  template: `
    <mat-card appearance="outlined">
      <mat-card-content>Home</mat-card-content>
    </mat-card>
  `
})
export class HomeComponent { }
We’ll keep it simple for this example, and of course, you can add a nice design for your home page.
Now we can move to the products application.
Configuring the MFE1 (remote) application
Turn the products project into an MFE:
ng g @angular-architects/native-federation:init --project products --port 4201 --type remote
This project will run on port 4201. Adjust the port in projects/shell/public/federation.manifest.json as well:
{
	"products": "http://localhost:4201/remoteEntry.json"
}
When you add other remotes to your project, you’ll also need to change this file accordingly.
Next, we’ll modify the AppComponent inside the products project:
import { Component } from '@angular/core';
import { MatCardModule } from '@angular/material/card';

@Component({
  selector: 'app-products-root',
  imports: [MatCardModule],
  template: `
    <mat-card appearance="outlined">
      <mat-card-content>Products App</mat-card-content>
    </mat-card>
  `
})
export class AppComponent { }
Again, we’re keeping it simple, and you should be able to add any design needed to this project so your MFE can function properly.
Adding routes to the Shell application
Now it is time to tie it all up together! Let’s go back to the shell project app.routes.ts file and add the routes:
import { loadRemoteModule } from '@angular-architects/native-federation';
import { Routes } from '@angular/router';
import { HomeComponent } from './home/home.component';

export const routes: Routes = [
  { path: '', component: HomeComponent, pathMatch: 'full' },
  {
    path: 'products',
    loadComponent: () =>
        loadRemoteModule('products', './Component').then((m) => m.AppComponent),
  },
  {
      path: '**',
      component: HomeComponent,
  }
];
Angular does not have an API that allow us to load remote modules. That is also when the package @angular-architects/native-federation that we installed earlier comes into picture.
This package allow us to lazy load a remove by using the loadRemoteModule feature. We can use to lazy load a standalone component using the loadComponent function from the Angular API.
Running the Shell and MFE1 (Products)
Finally, let’s run our application locally to see the MFE in action:
ng serve shell
ng serve products
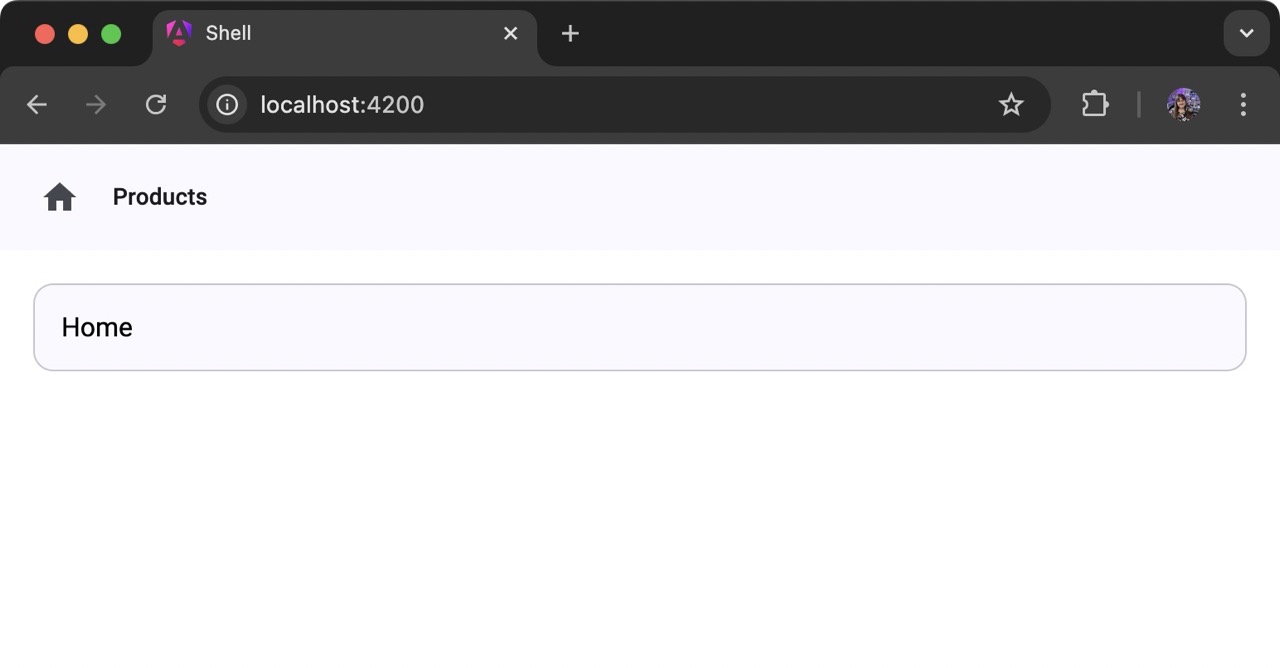
We need to open two terminals and run each ng serve command. Then, we can open our application using http://localhost:4200:

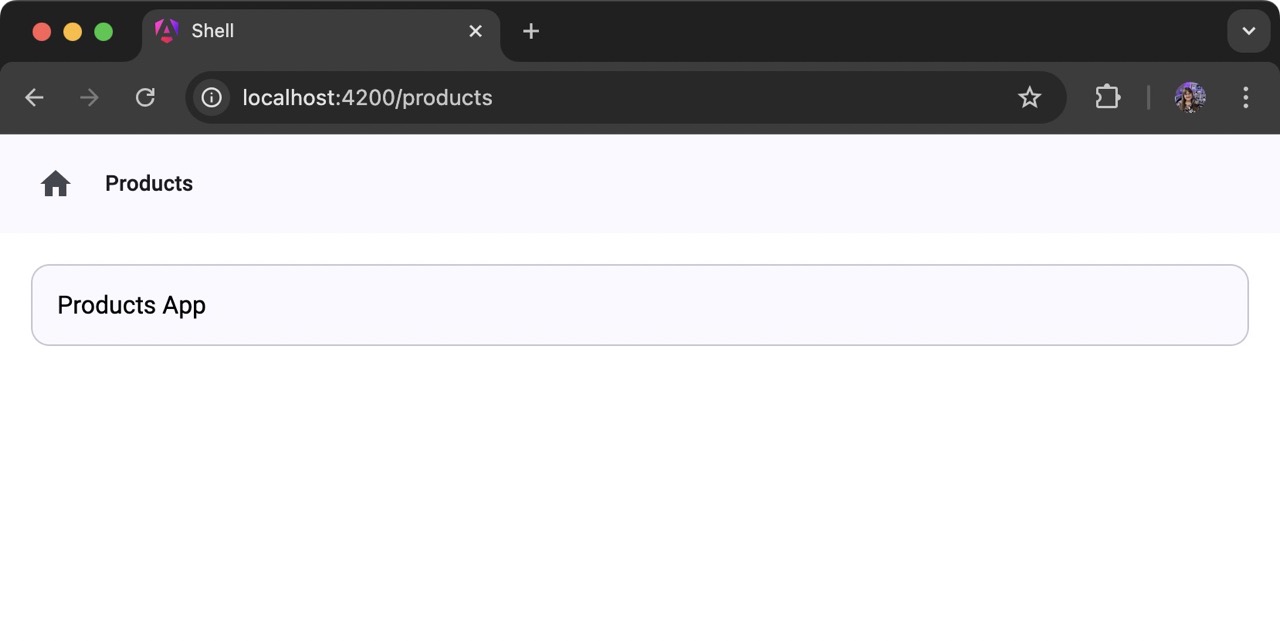
And if we navigate to the /products route, we should see our products MFE:

Summary
In this post, we have covered the process of setting up an Angular workspace with micro-frontends using Module Federation. We created a shell application and a remote Products application, integrated Angular Material for styling, and configured Native Federation for modular architecture. Finally, we set up routing and tested both applications running together locally. This foundational setup allows for scalable, modular web applications using Angular’s MFE capabilities.
References and to learn more:
- https://www.angulararchitects.io/en/blog/micro-frontends-with-modern-angular-part-1-standalone-and-esbuild/
- https://www.npmjs.com/package/@angular-architects/native-federation
View the full source code on GitHub.
Happy Coding!
