Deploying Angular to Azure Static Web Apps
During Microsoft Build 2020, a new Azure service was anounced during the keynote: Azure App Static Web Apps. This service allow us to publishe websites to a production environment by building apps from a GitHub repository for free. In this article, we’ll learn the steps to publish an Angular application to Azure App Static Web Apps.
Want the code? Go straight to GitHub or view the live demo
Creating the Angular application
The source code for this example is based on the Microsoft Learn exercise Refactor Node.js and Express APIs to Serverless APIs with Azure Functions, which is an Angular application with a Node.js backend that migrated the Node.js code to Azure Functions.
You can use the same code as a base (and as bonus complete the exercise at Microsoft Learn platform) or you can create and deploy your own Angular application.
In order to create a brand new Angular application, the first step is creating your Angular project using Angular CLI.
You can use the following command:
1
ng new vacationwishlist --routing
With the command above, we are asking Angular CLI to create a new project with a routing module (--routing).
You can add your code to the application - or if you cloned the Microsoft Learn repository, this is how the application should look like:

Adding Azure Functions as Backend (Optional)
If you would like to deploy only the Angular application, you can skip to the next step. But given the service supports Azure Functions, we’ll deploy the backend CRUD logic for our Angular application as well.
If you followed the Microsoft Learn example, you should have the following structure:
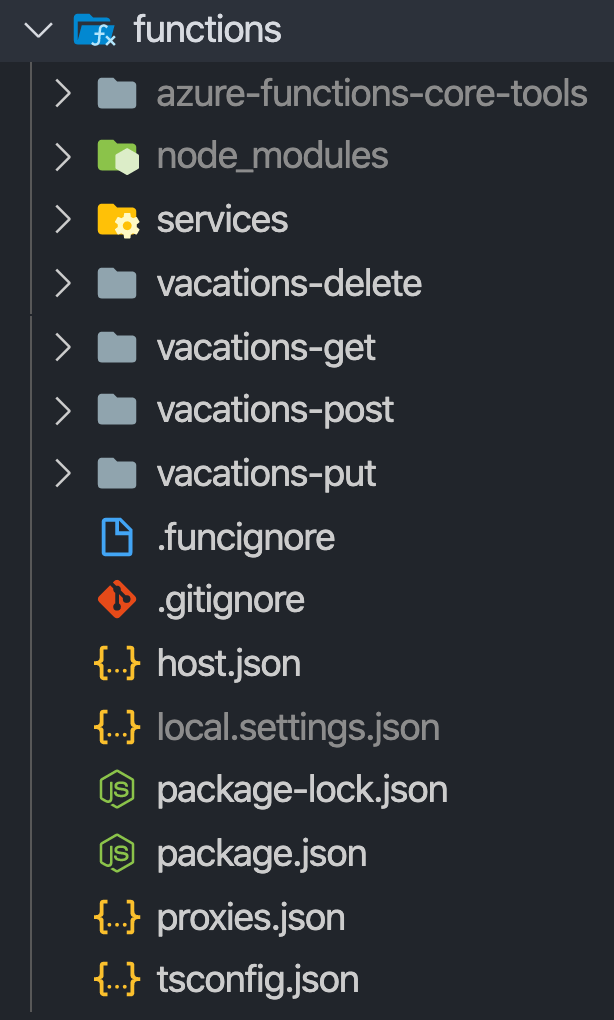
All the Azure Functions source code will be under the functions folder. And that’s all we need.
Fallback routes
Before we continue, one last step. After running the source code locally, you might notice we can access http:localhost:4200/vacations directly. However, after the deployment, accessing this route directly can give us a 404 page. In order to solve this, we need to setup a fall back route.
According to the documentation: client-side routing rules update the browser’s window location without making requests back to the server. If you refresh the page, or navigate directly to locations generated by client-side routing rules, a server-side fallback route is required to serve the appropriate HTML page. The rules are defined as an array of rules in the routes.json file.
In case of Angular applications, the best place to put the routes.json file is under the assets folder:
1
2
3
4
5
6
7
8
9
{
  "routes": [
    {
      "route": "/*",
      "serve": "/index.html",
      "statusCode": 200
    }
  ]
}
Github + Automatic deployment with Azure Static Web Apps
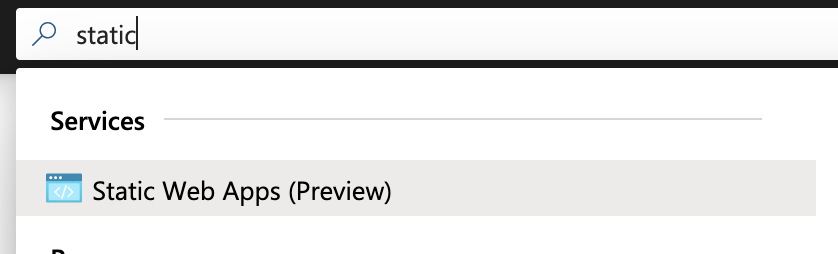
Now that our application is developed, we can push it to Github and see the magic happens! Login to your Azure account, and on the search box, enter “Static”, and you should see the service available:
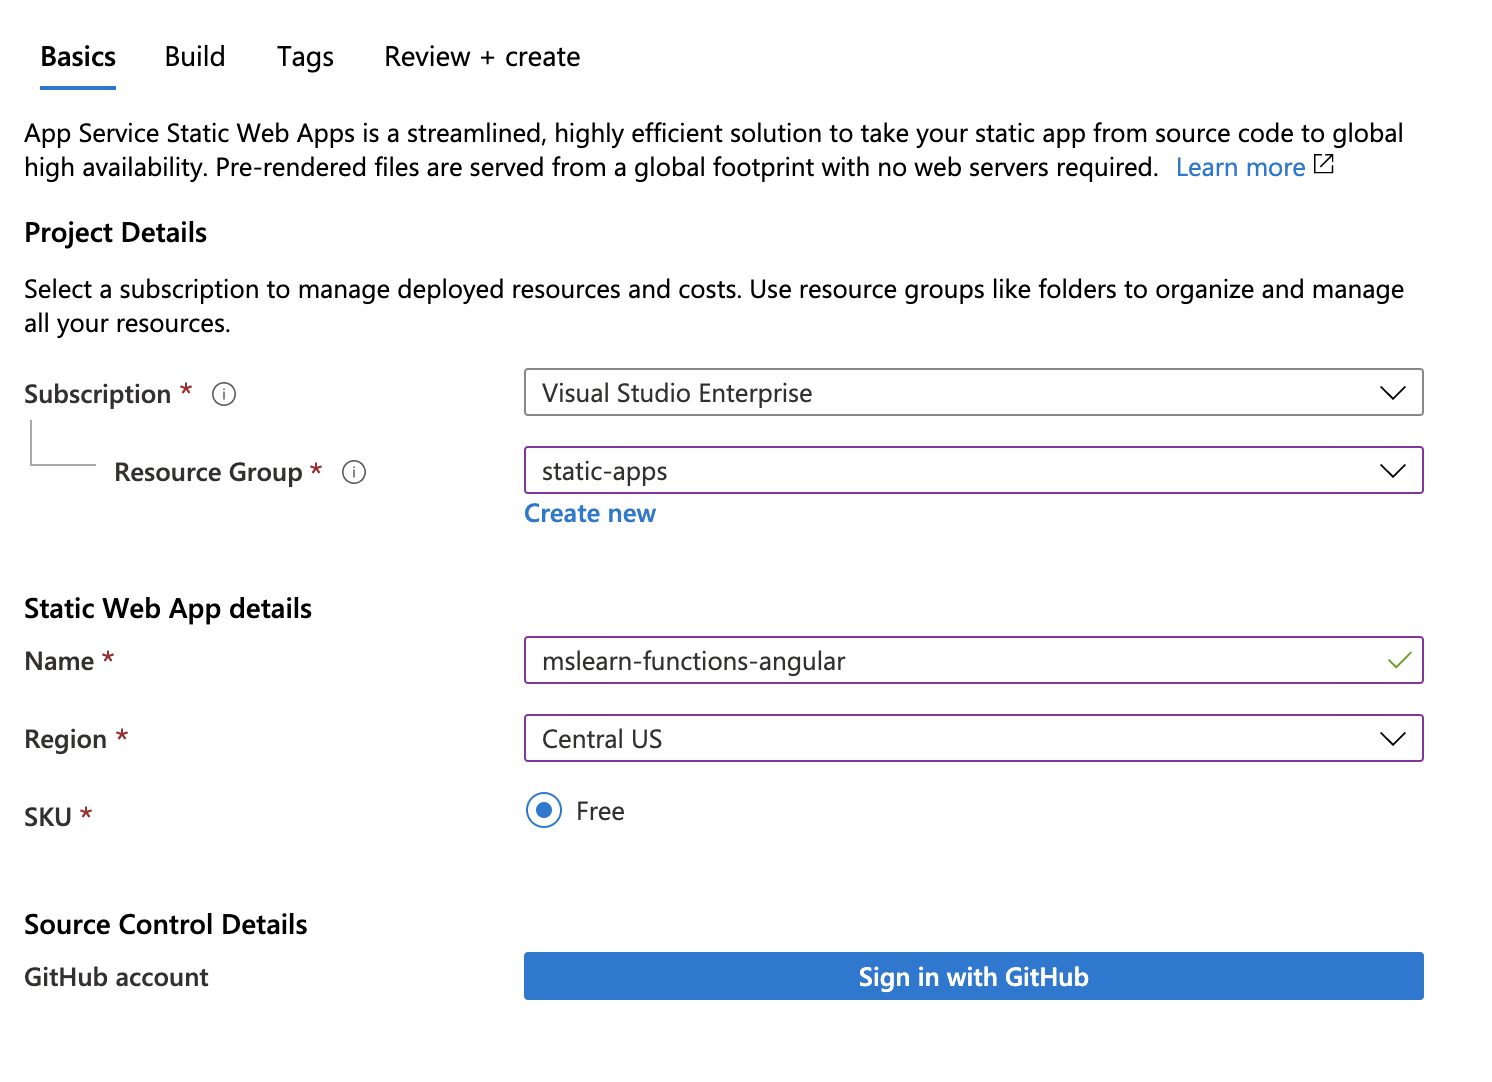
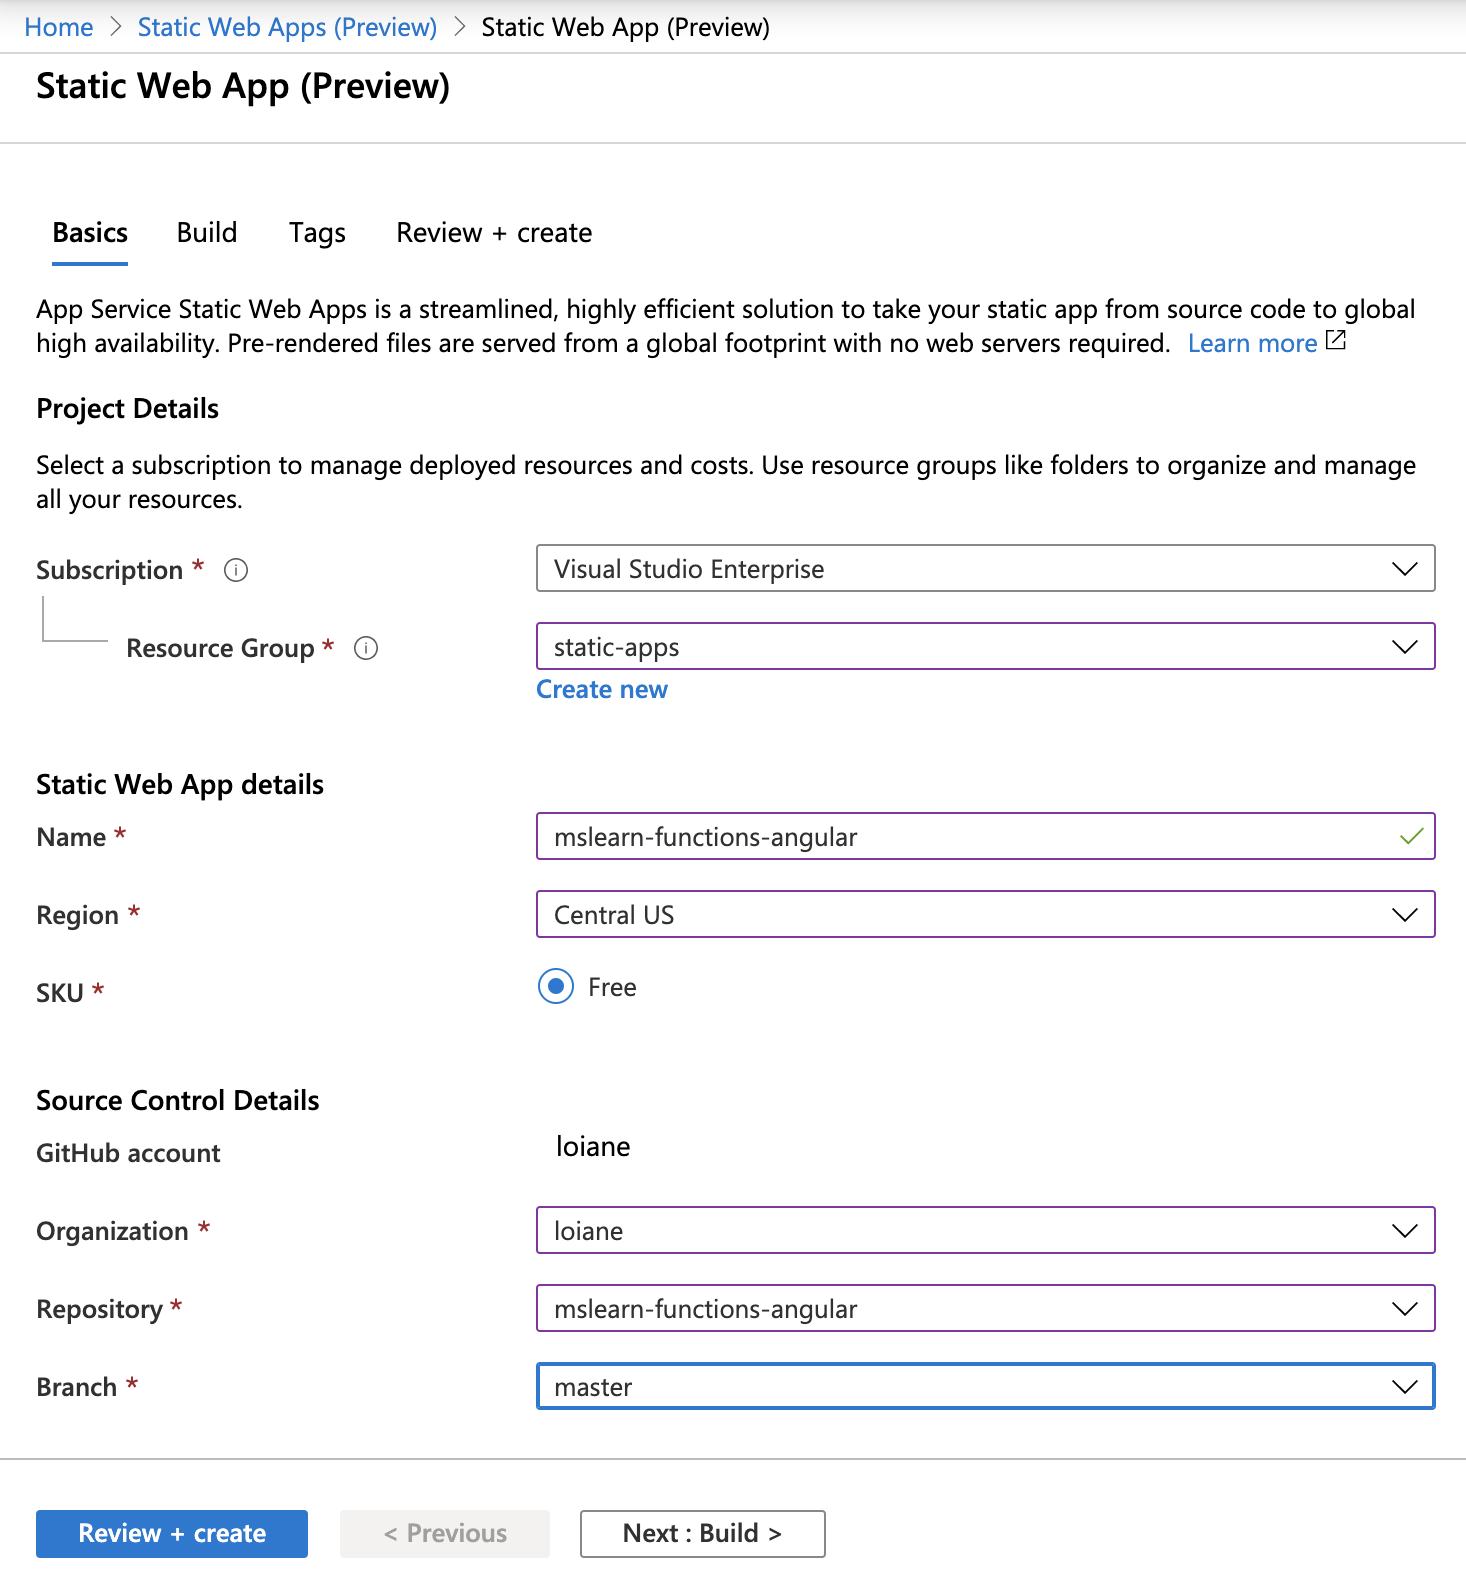
Select your subscription, your resource group (logic grouping - you can also create one if you haven’t created one yet), the name of your application and the region (datacenter) where the application will be deployed. You’ll also need to login to Github and authorize Azure. This step is required as Azure will need to read your source code and will also create and commit a workflow file (Github Actions) in your repository.
Select the repository where your source code is located and click on Next: Build:
This is where we’ll configure our production build. For Angular apps, the source is located at the root of the project, so we’ll keep / as value. For the api location, the default value is api, but as our functions located in the functions folder, we need to update this value. And last step is providing where Angular CLI will generate the production build. The default value is dist\name-of-the-project. If you are not sure, you can open angular.json file and locate the outputPath property.
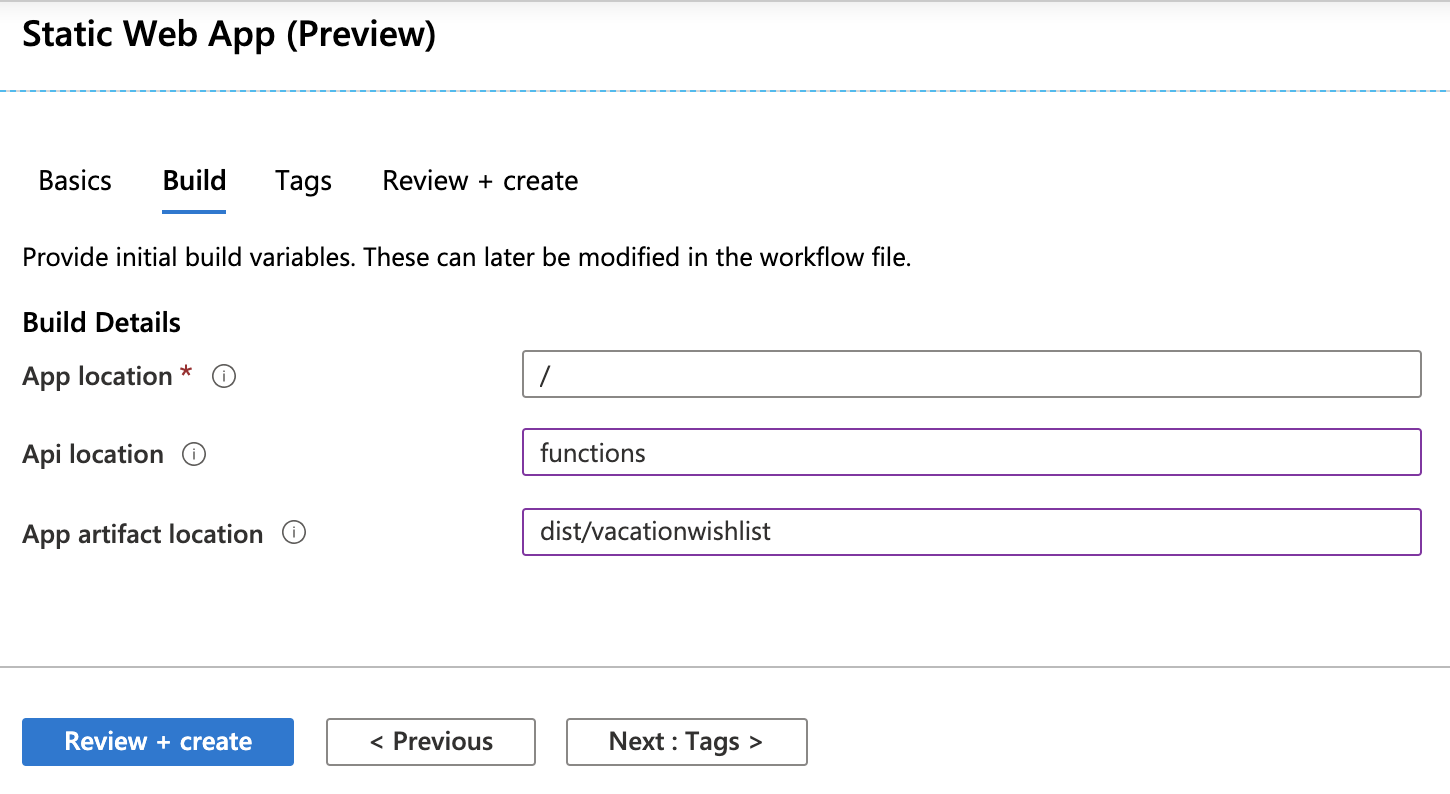
After reviewing, we can click on Create.
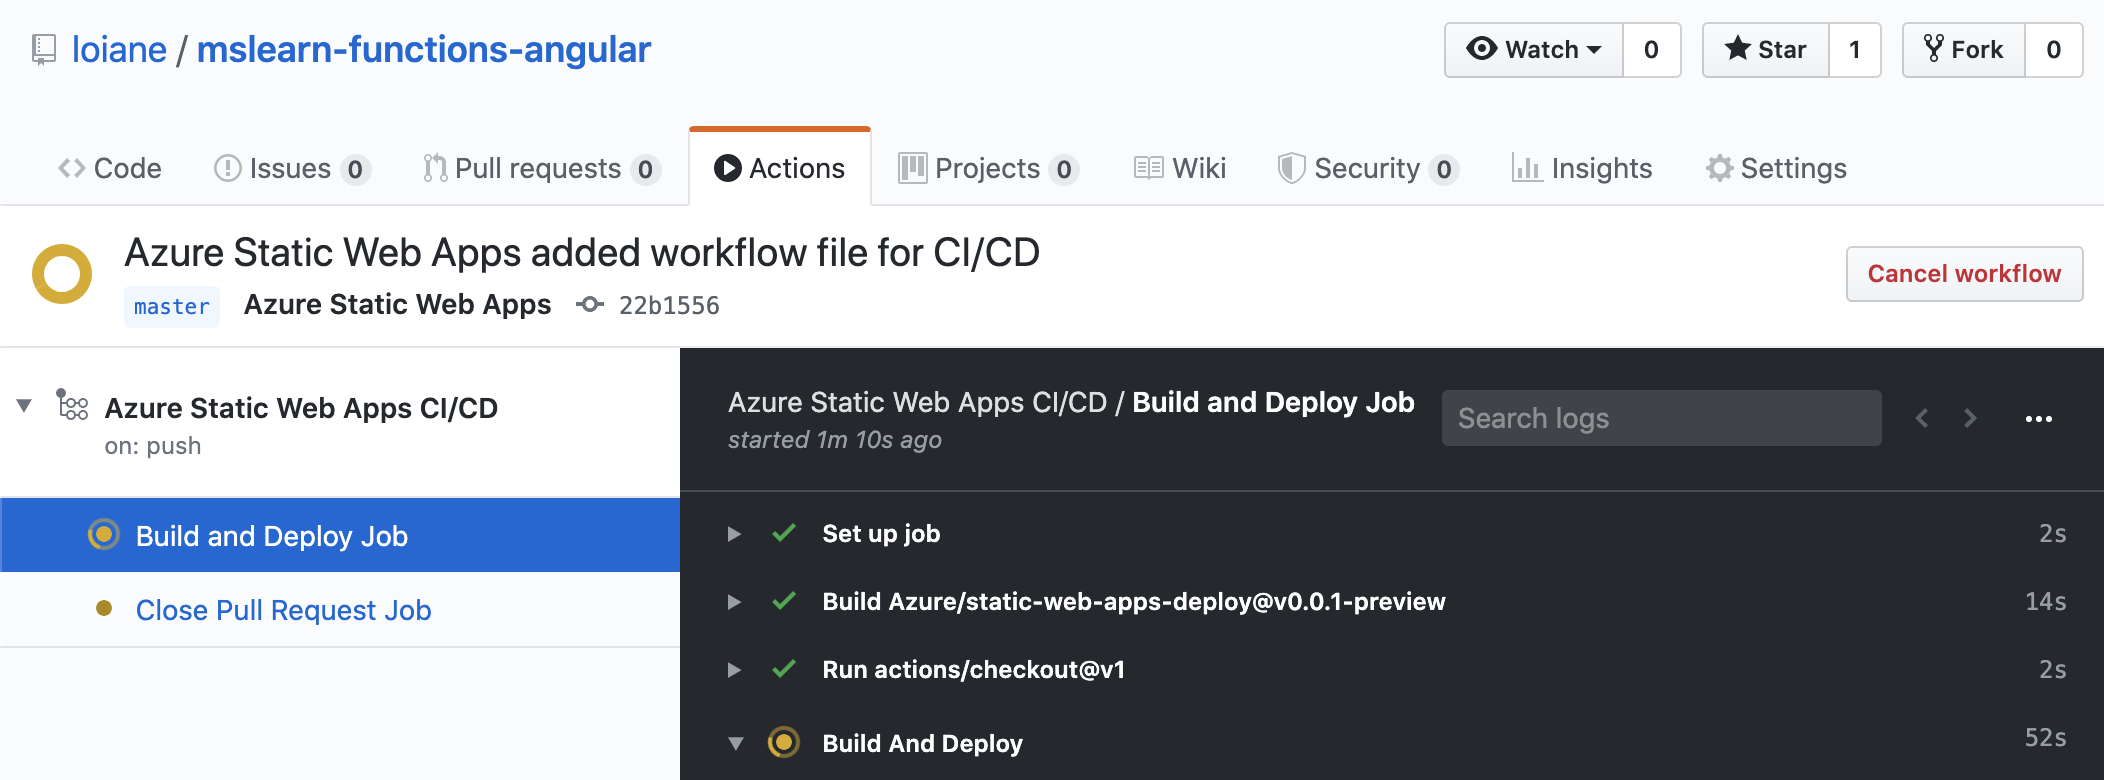
After this step, you’ll notice a new file will be added to your Github repository:

This file is reponsible for having the steps required for Github Actions to build and deploy the application. If you need to change the source folder, the API location or the artifact location that we’ve entered in the last step, you can edit this file and once you push it to Github, it will trigger the build again.
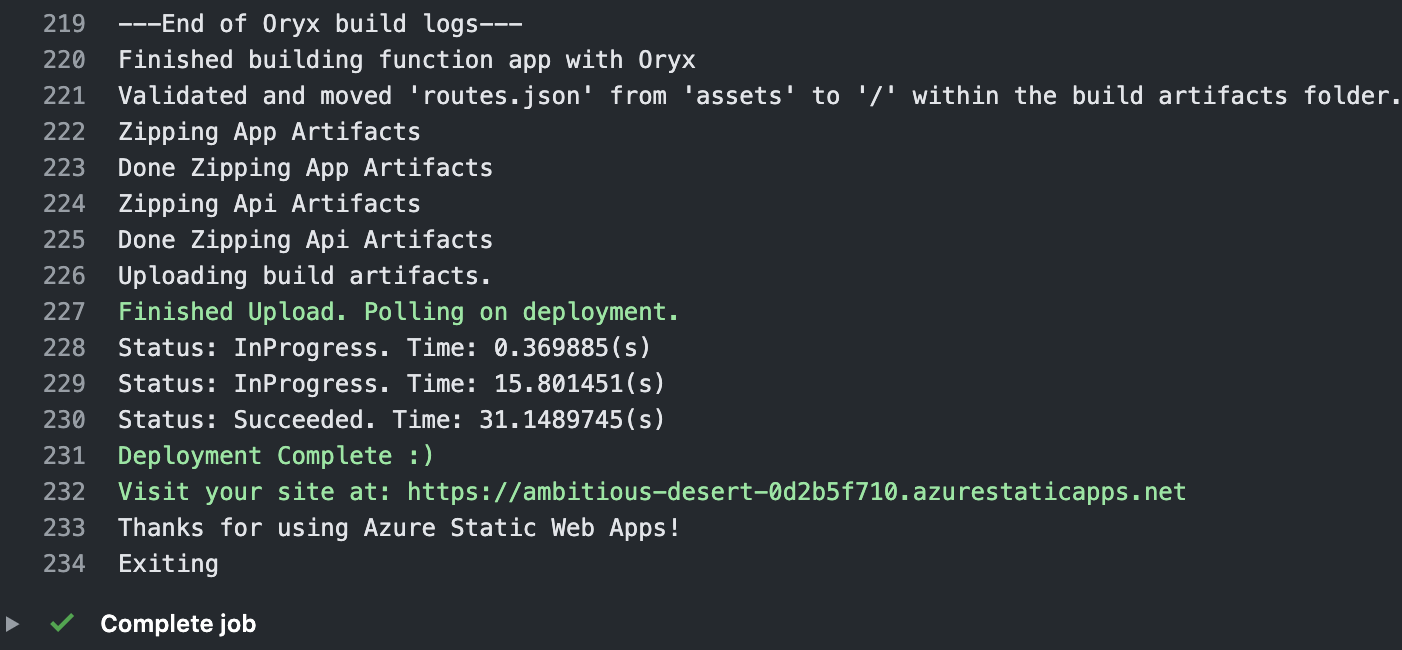
By the end of the build, you can see the url where you project is deployed:
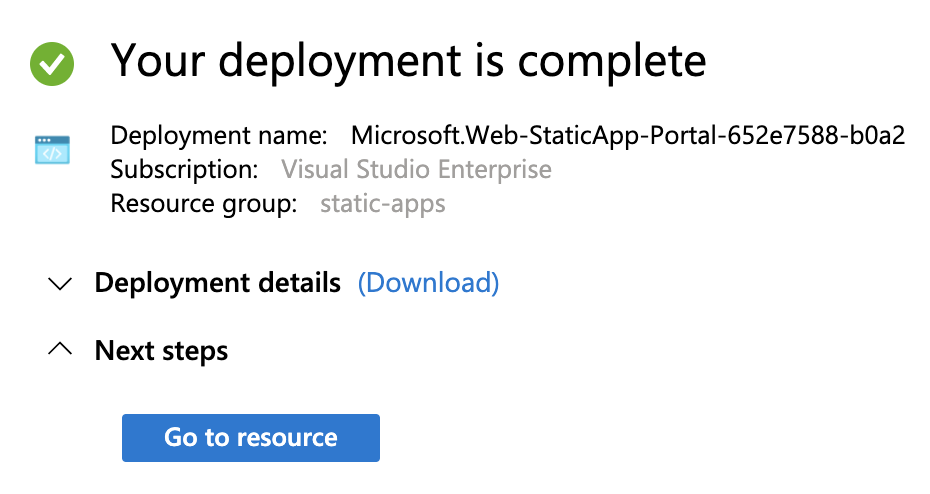
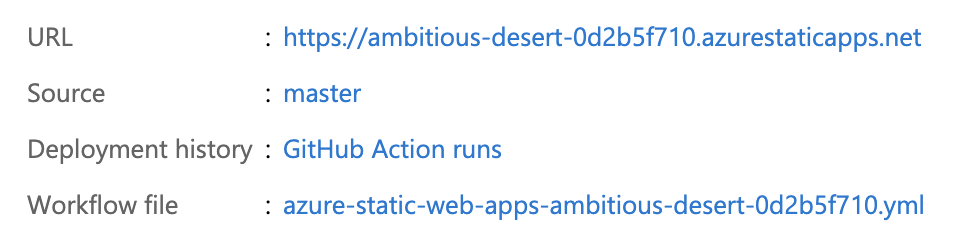
This information is also available at the Azure portal
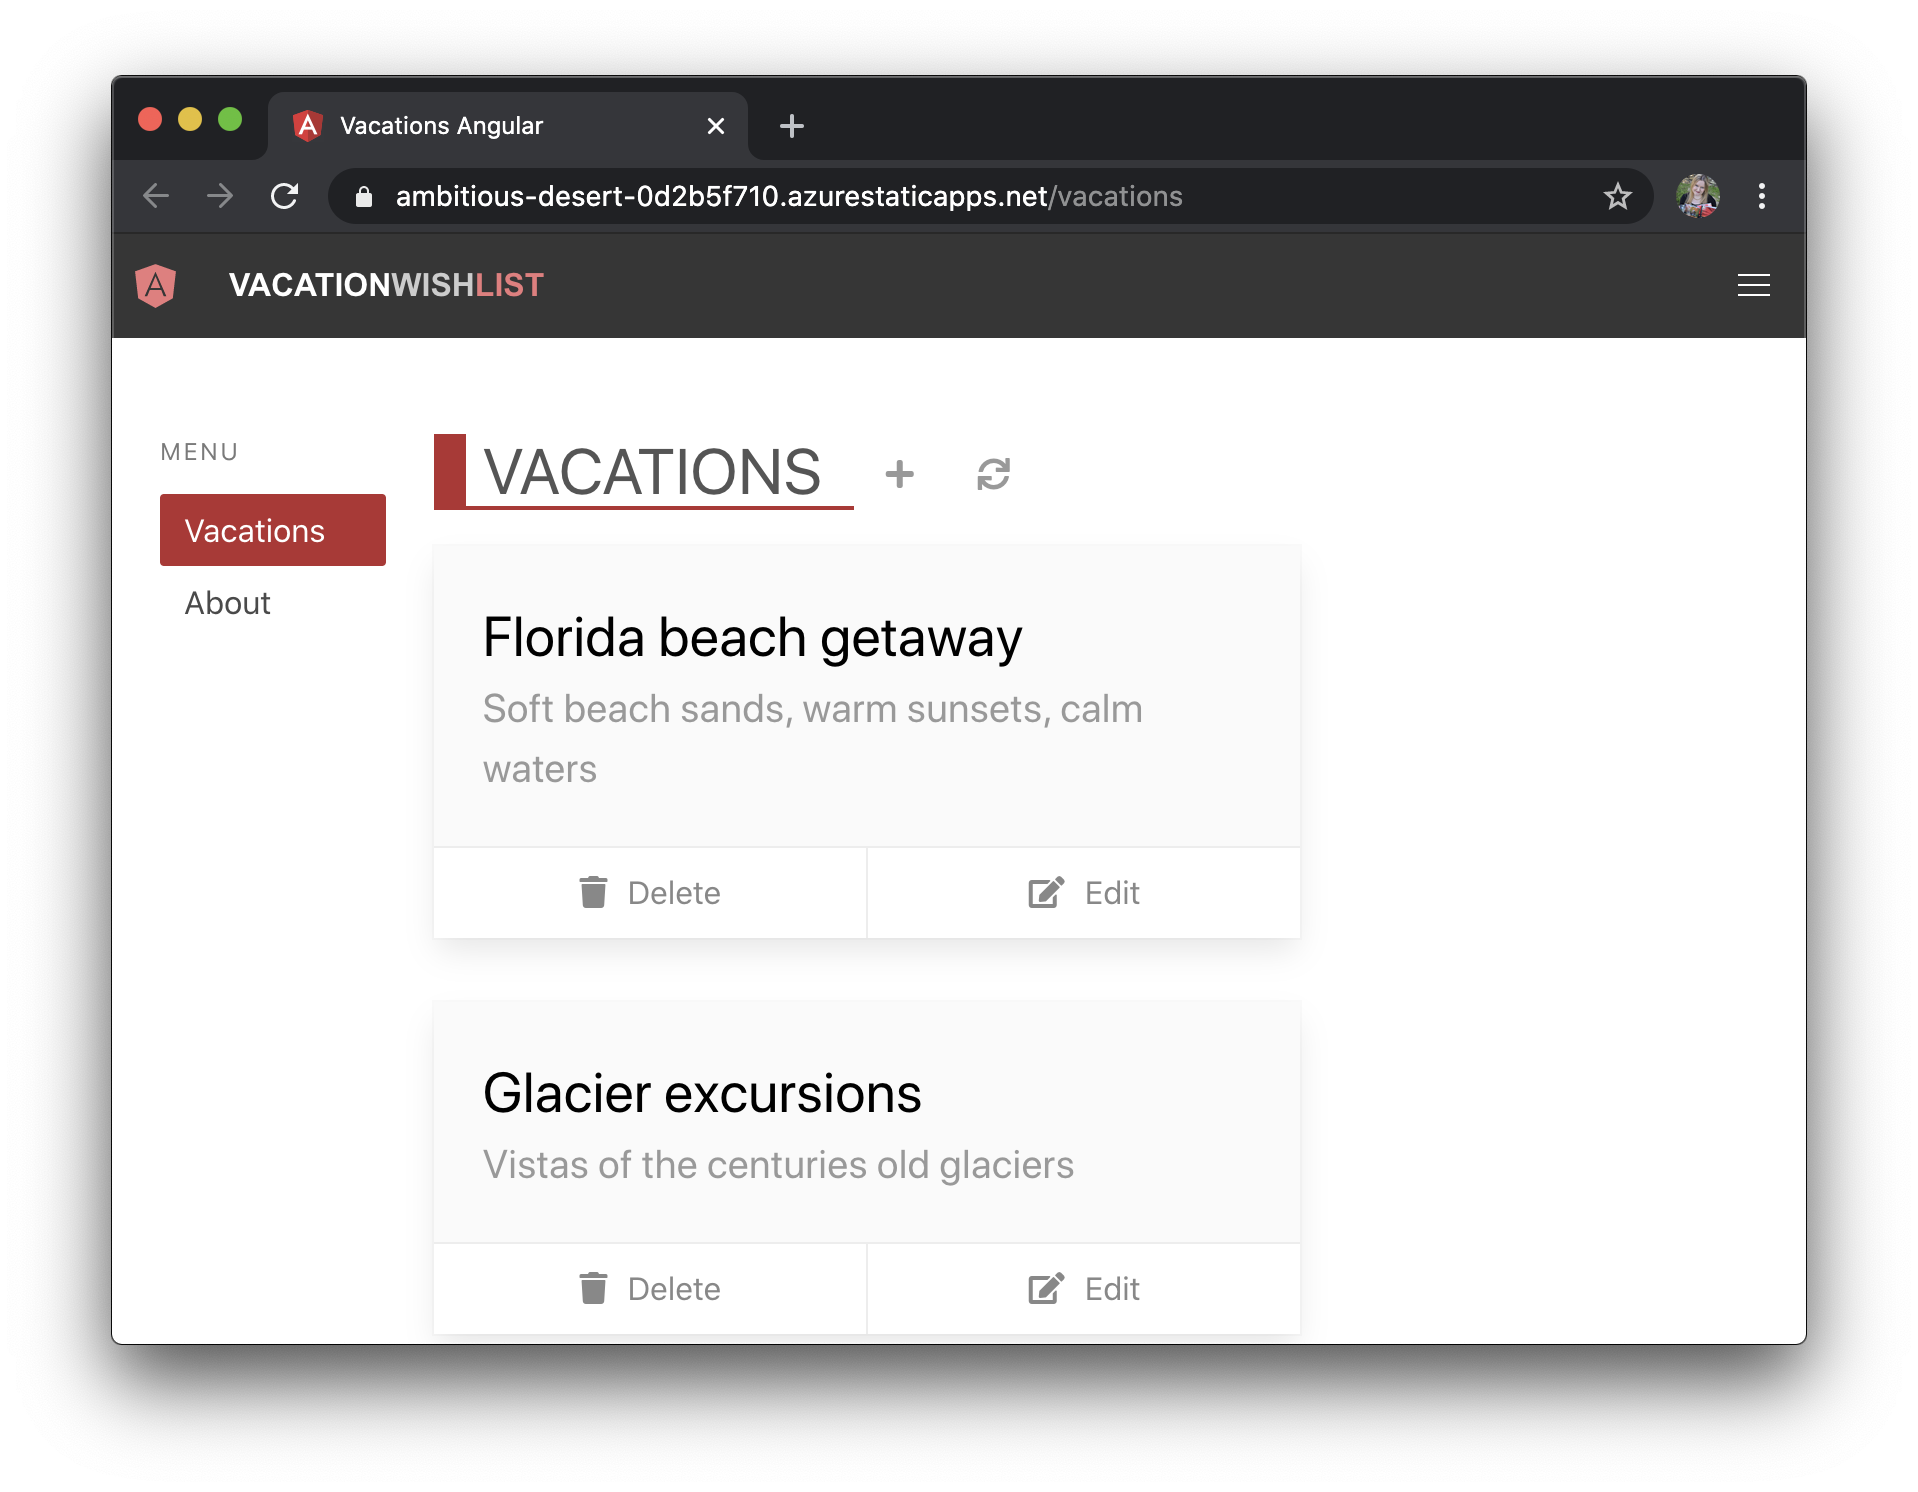
And this is our application deployed for free at Azure Static Web Apps:
Conclusion
This service is currently in public preview and it’s free! All you need is an Azure account, and you can create it for free here: https://azure.microsoft.com/free.
Check out the documentation so you can lear more about this service and other functionalities such as Authentication and authorization and setting up a custom domain.
View the full source code on GitHub or check out the live demo!
Happy Coding!