Continuous Integration with Angular CLI + Travis CI + Firebase Hosting + Greenkeeper + Github
In this article we will learn how to automatically deploy an Angular CLI project to Firebase hosting using Github + Travis CI with Greenkeeper.
In this tutorial I’ll show you step by step how I setup my Angular CLI projects in Github to automate the build and deployment steps (you can also automate the testing) using Travis CI, and as a bonus, how to keep the dependencies updated using Greenkeeper.
1 - Angular CLI
The first step is creating your Angular project using Angular CLI.
For this example we will use the following command:
ng new angular-travisci-firebase
After the project is created, we can run it locally using the following command:
cd angular-travisci-firebase
ng serve
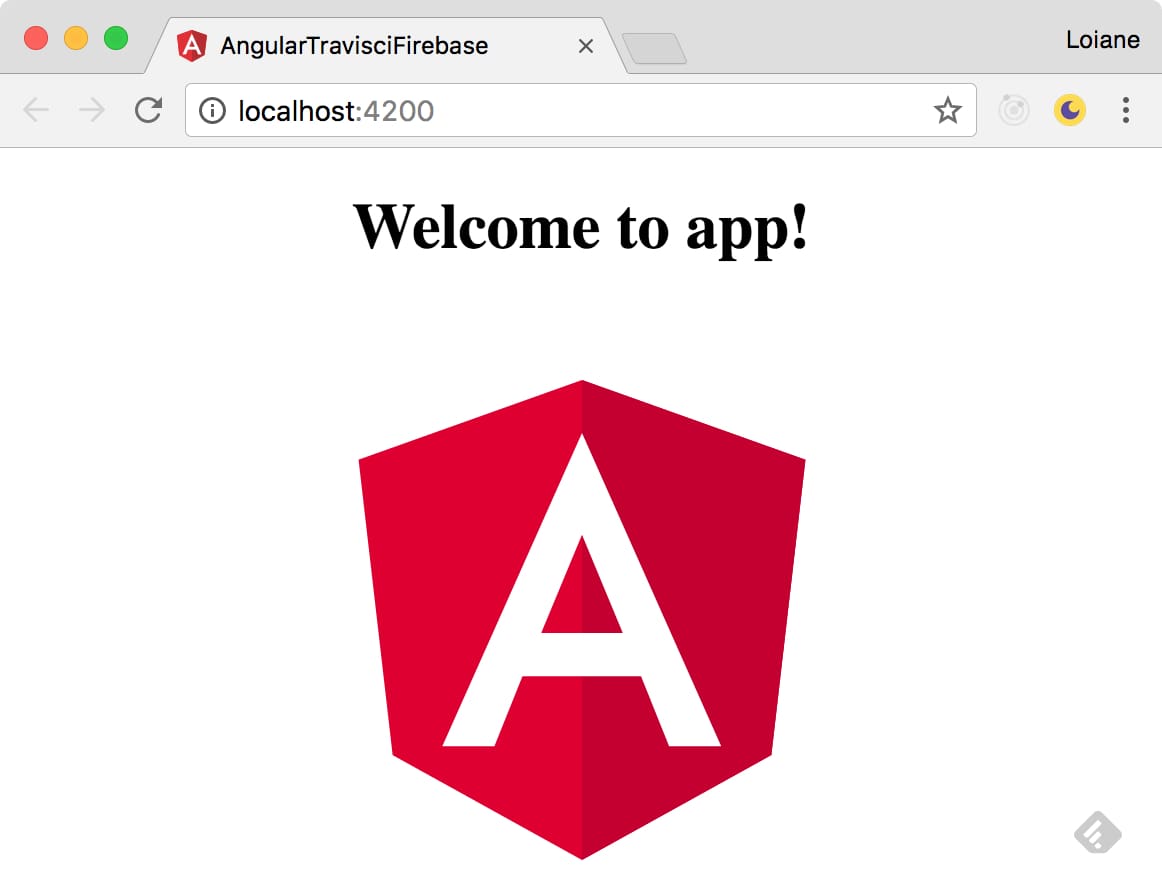
We will see the starter template from Angular CLI.
2 - Github
I’m supposing you already have a Github account. If not, I highly recommend to create one - it’s free!
We can create the repository manually directly in Github and follow the steps to commit our code to it.
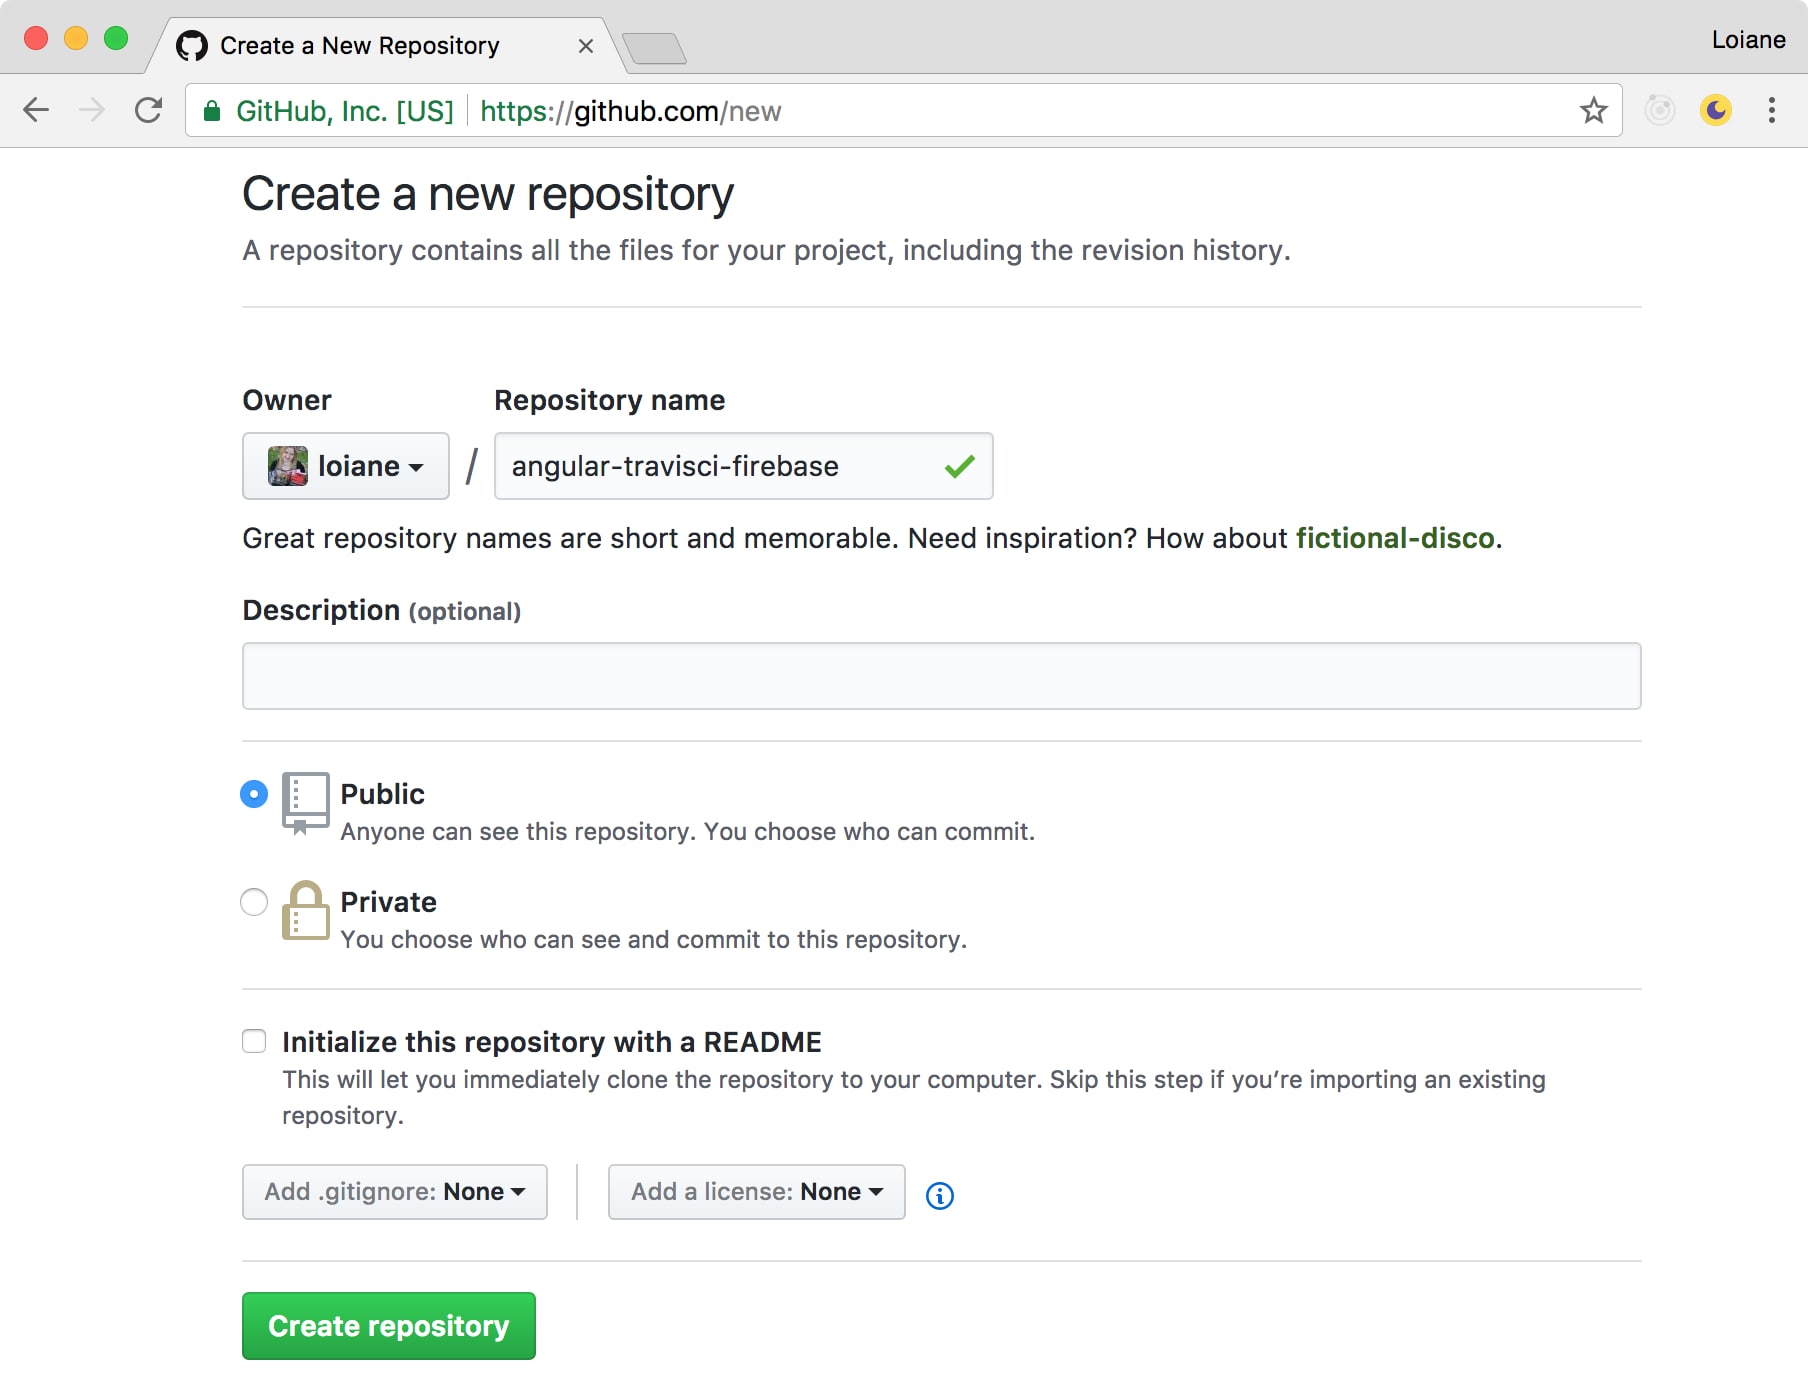
For this example I’ll use the command below since Angular CLI already has built in git integration and makes the first commit automatically when the create the project. So we just need to link the remote repository with our project and push our code to it:
git remote add origin https://github.com/loiane/angular-travisci-firebase.git
git push -u origin master
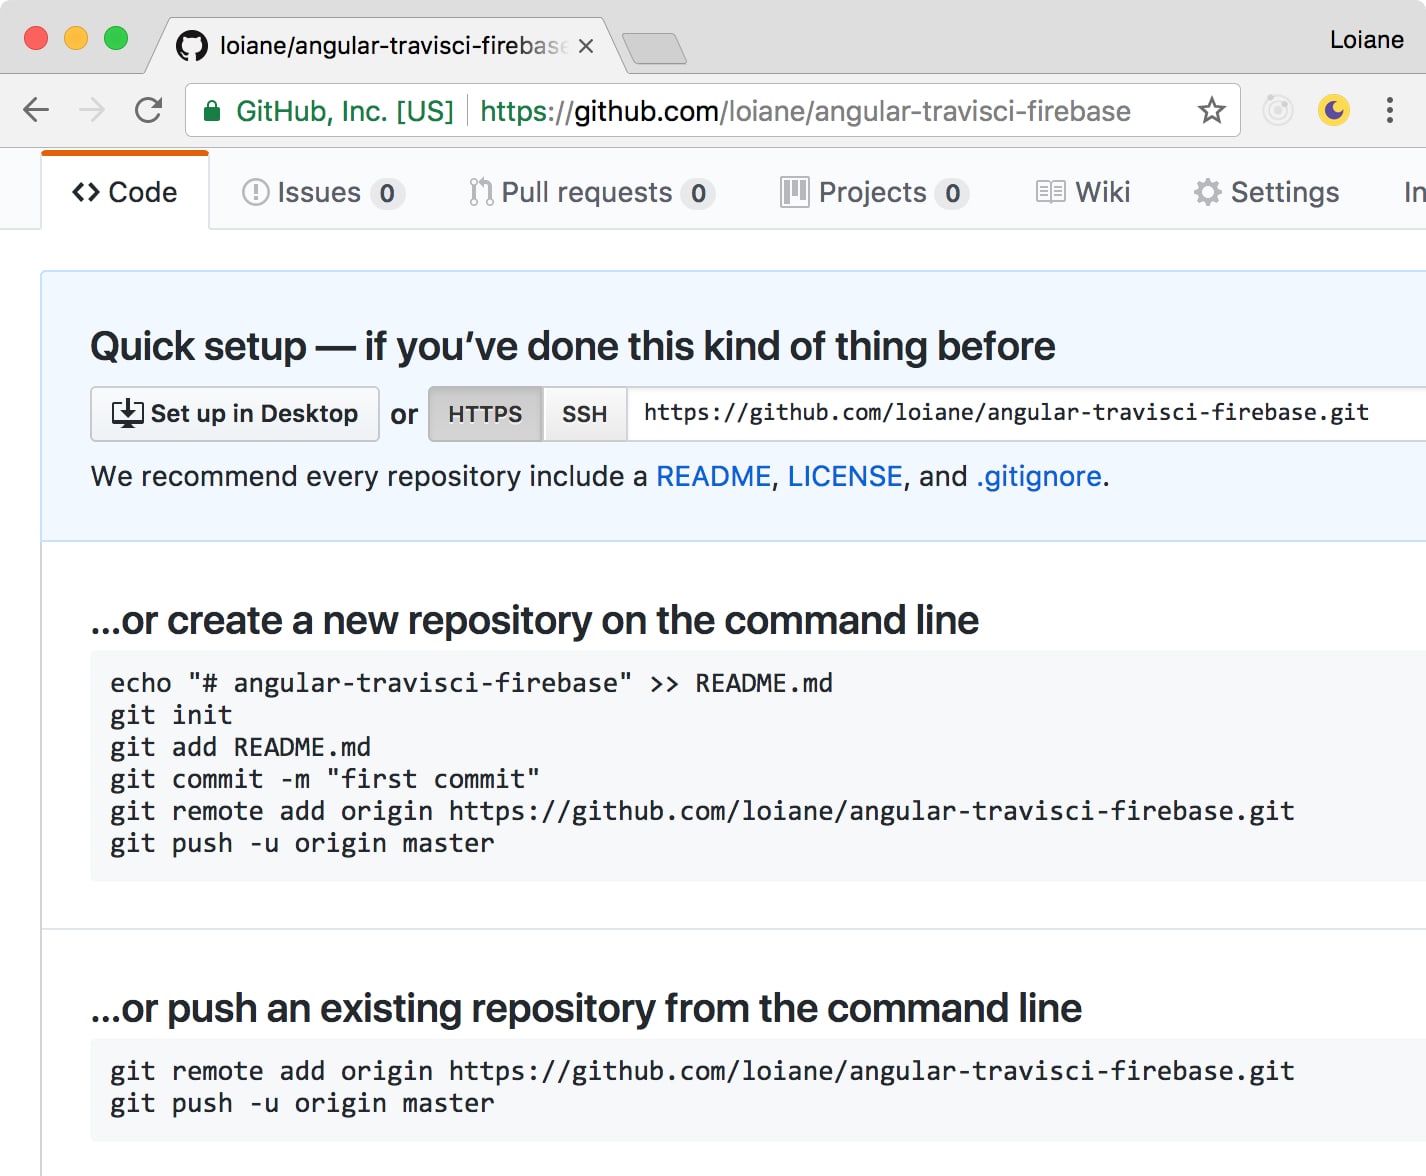
Github also displays the available options when we create a repository.
As an alternative, I like to use the Github desktop app as well, which makes much easier to create the project in my computer and then commit it and push it directly to Github.com (without needing to create the repo in Github first). But you can use any git client of your preference and link it to your Github account.
3 - Travis CI
For this example we will use Travis CI for Continuous Integration. If you don’t have a Travis CI account, please go to https://travis-ci.org and sign in with your GitHub account.
Travis CI has a great support to Github repositories. It is free for public repos as well (but you have to pay if you want to use it with private repos)!
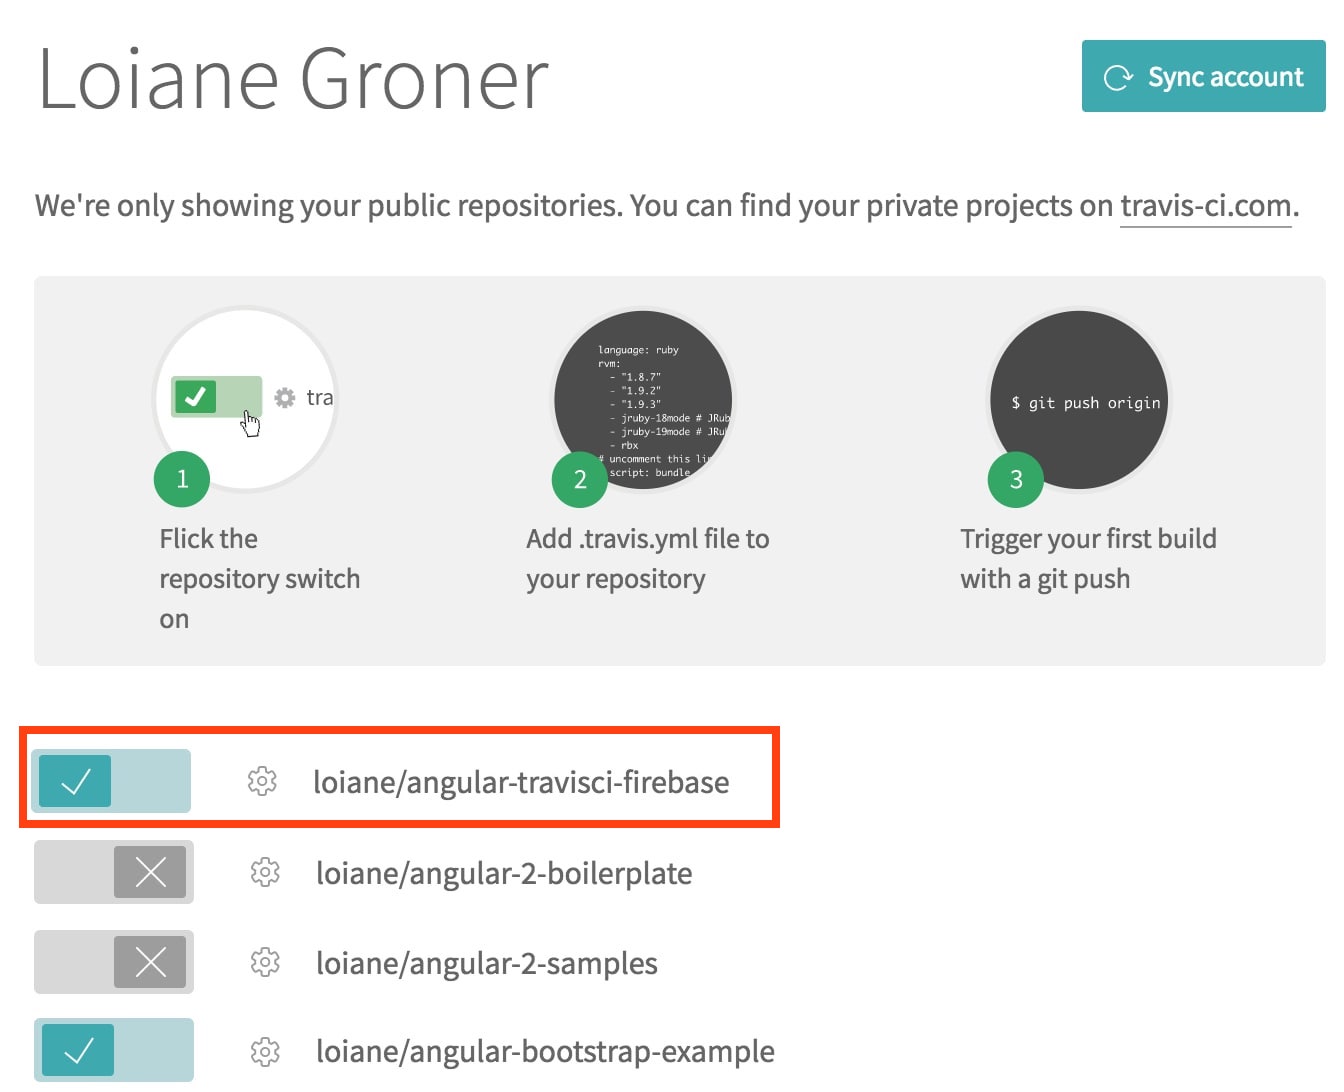
Enable Travis CI for the repository we just created:
Since the Angular CLI production build requires a special command (ng build) we will tell Travis CI how we want the production build to be created. So we will change the repo settings to only run the build after we have the .travis.yml created.
if you do not see the settings tab you can go to “More Options” - it can take a few seconds before it is displayed after we enable the repository:
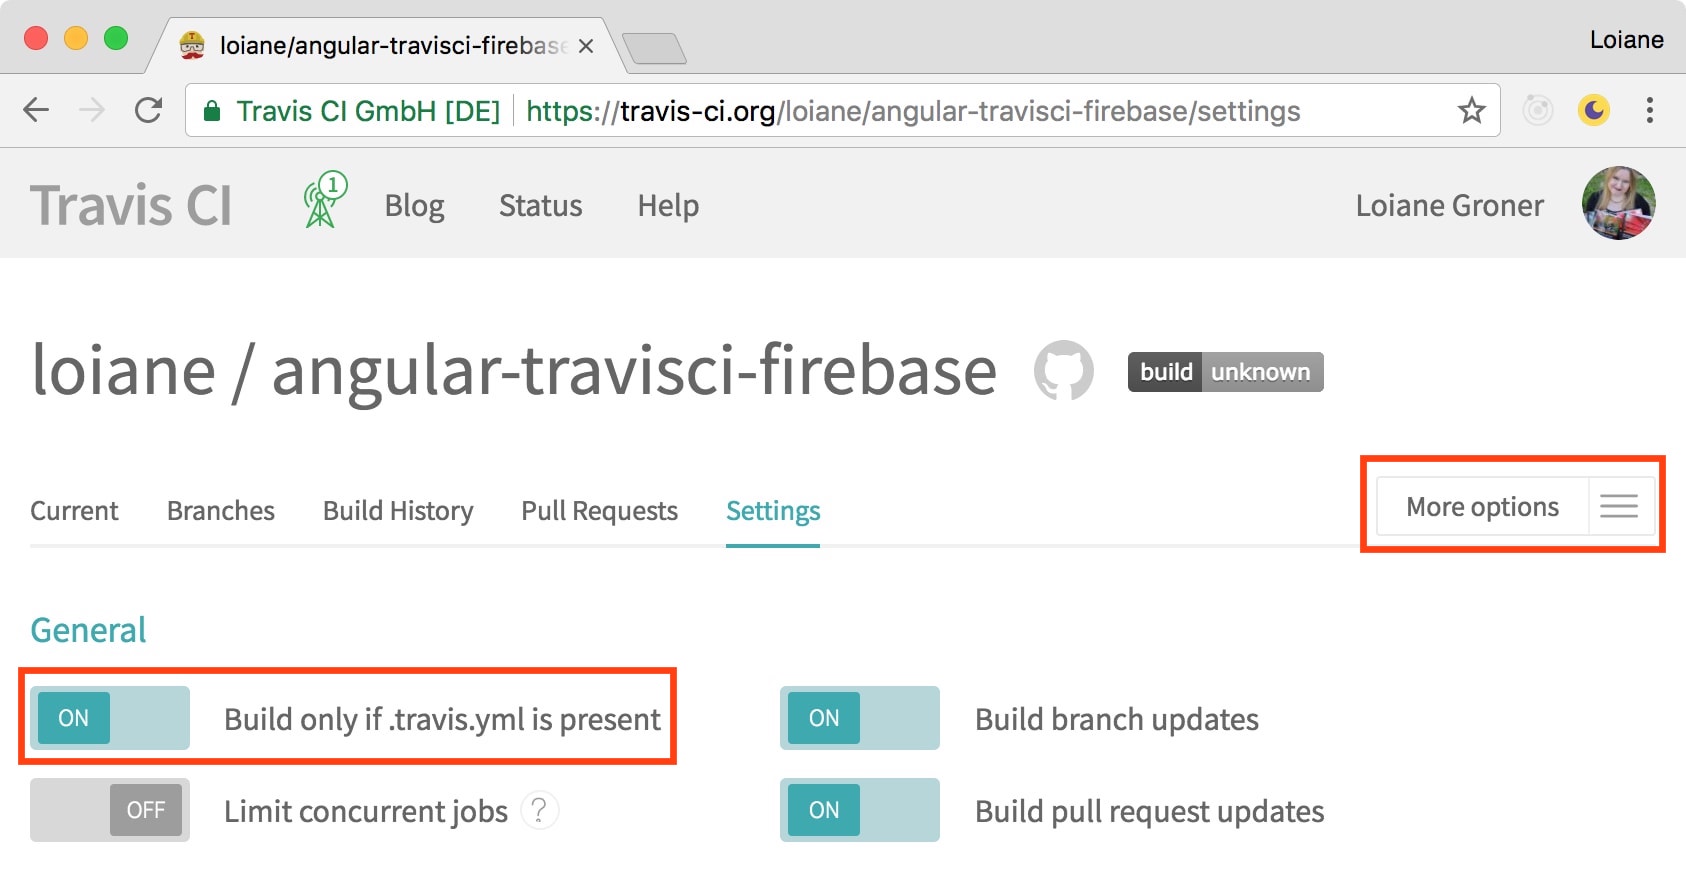
To use CI with Travis we simply need to create a .travis.yml file in the repository root folder with the following content (already prepared for Angular CLI projects!):
language: node_js

node_js:
   - node # will use latest node

before_script: # commands to run before the build step
   - npm install -g --silent @angular/cli

script: # the build step
   - ng build --prod

notifications:
  email: # only receive email when the build status changes (someone broke the build!)
    on_failure: change
    on_success: change
The file above can be used with any Angular CLI - with or without Firebase hosting and will validate the commits for any branch. We will modify it to support Firebase in the next section.
Note that we are using the --silent flag when installing @angular/cli to execute the build. This is just because the log trace when installing @angular/cli is very long and I prefer not to see the install trace - this way is much smaller and easier to read and focus on the main tasks which is ng build --prod command.
You can also check the options available to customize this file at https://docs.travis-ci.com/user/customizing-the-build.
4 - Firebase
For this example, we will only use Firebase hosting. I’ll write another article on how to use Firebase real time database with Angular projects! :)
So the first thing we will do is creating a new project in the Firebase console https://console.firebase.google.com/:
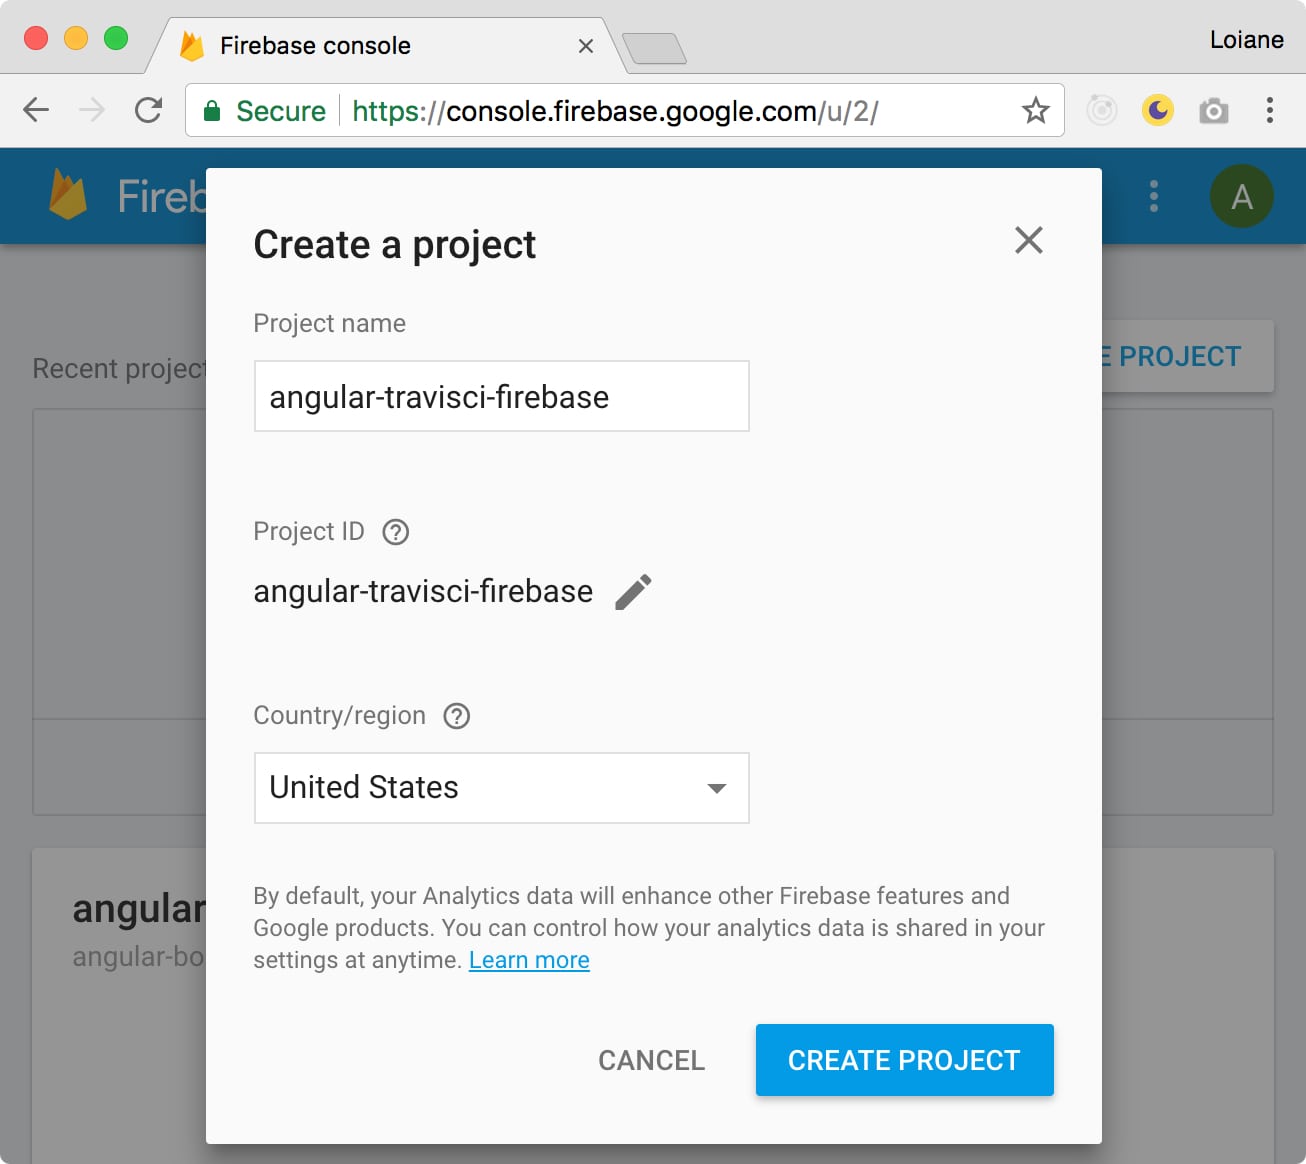
Next step is installing the firebase-tools and initialize our project:
npm install -g firebase-tools
firebase login
firebase init
We will prompted to select the functionality we want to use - in this case is hosting:
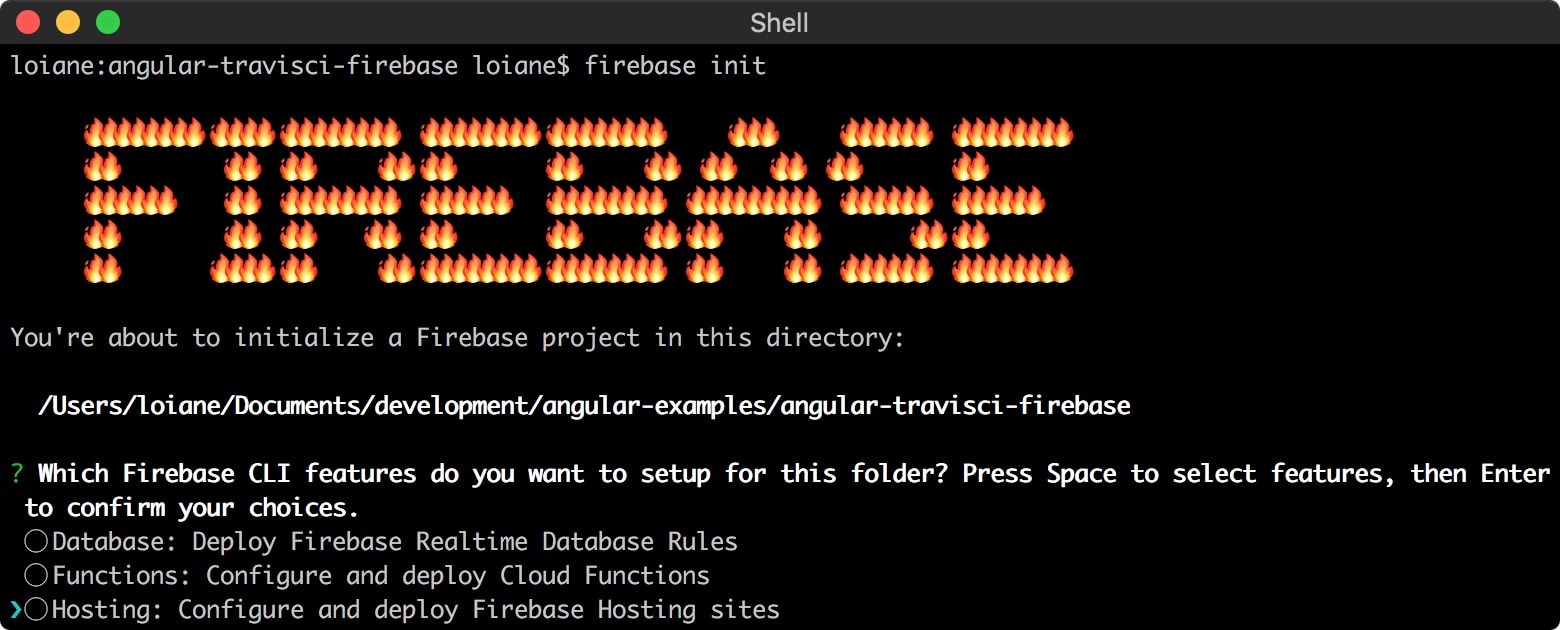
Next we need to select the project we created in the console:
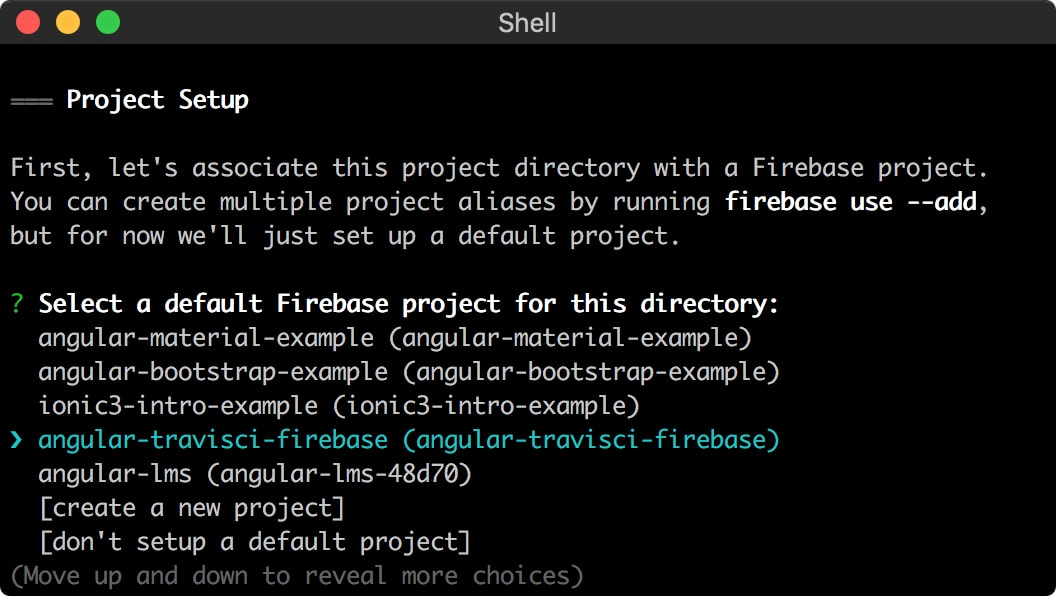
Note that two new files where created in the root of the project: .firebaserc and firebase.json:

By default, the firebase.json will be created empty and we need to configure what files we would like to deploy on Firebase. I usually add the following content to firebase.json:
{
  "hosting": {
    "public": "dist",
    "rewrites": [
      {
        "source": "**",
        "destination": "/index.html"
      }
    ]
  }
}
This file tells Firebase we want to deploy the content of the dist folder (which is where Angular CLI generated the prod build by default) and the main page is index.html.
And that’s it! We don’t need to manually deploy our poject to Firebase hosting. We will let Travis CI take care of it for us! Even for the first build. I like to let Travis handle the first build and deploy so I know the automated process it is working OK.
However, if you do want to test the upload and the hosting manually, you can use the following commands:
ng build --prod
firebase deploy
4.1 - Firebase + Travis CI
Now let’s go back to Travis CI to customize our build process to include the Firebase hosting deploy.
When we do firebase deploy from our computer, we are already logged in to Firebase. But Travis is not logged in. So we need to tell Travis how to login and get access to our Firebase account and execute the firebase deploy. To so, we will generate a special token. Firebase supports CI tools, and to get a token to use with Travis CI we need to execute the following command (from our project folder):
firebase login:ci
You will be prompted to authorize the access to the Firebase account. After you click on “Authorize” you will see the token generated in the terminal/cmd:
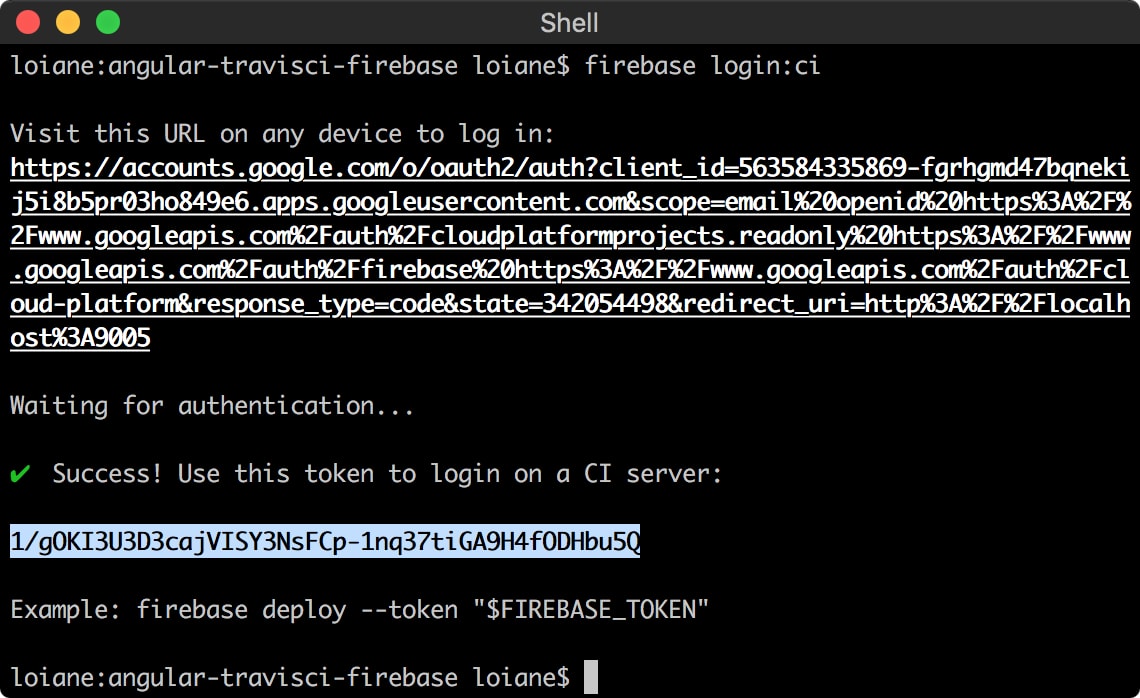
Firebase already provides us the command we need to use: firebase deploy --token $FIREBASE_TOKEN
So let’s go back to the Travis CI repository settings page and create the FIREBASE_TOKEN environment variable - and as value we add the token generated (you can copy it from the terminal):

We will modify the .travis.yml to look like the following:
language: node_js

node_js:
   - node

branches:
   only:
      - master # will only build for master branch commits

before_script:
   - npm install -g --silent firebase-tools # installs firebase to run firebase deploy
   - npm install -g --silent @angular/cli

script:
   - ng build --prod

after_success:
  - firebase deploy --token $FIREBASE_TOKEN --non-interactive # firebase deploy after angular-cli build

notifications:
  email:
    on_failure: change
    on_success: change
Very important: we need the
--non-interactiveflag when executingfirebase deployfrom Travis CI, otherwise the deploy will fail:
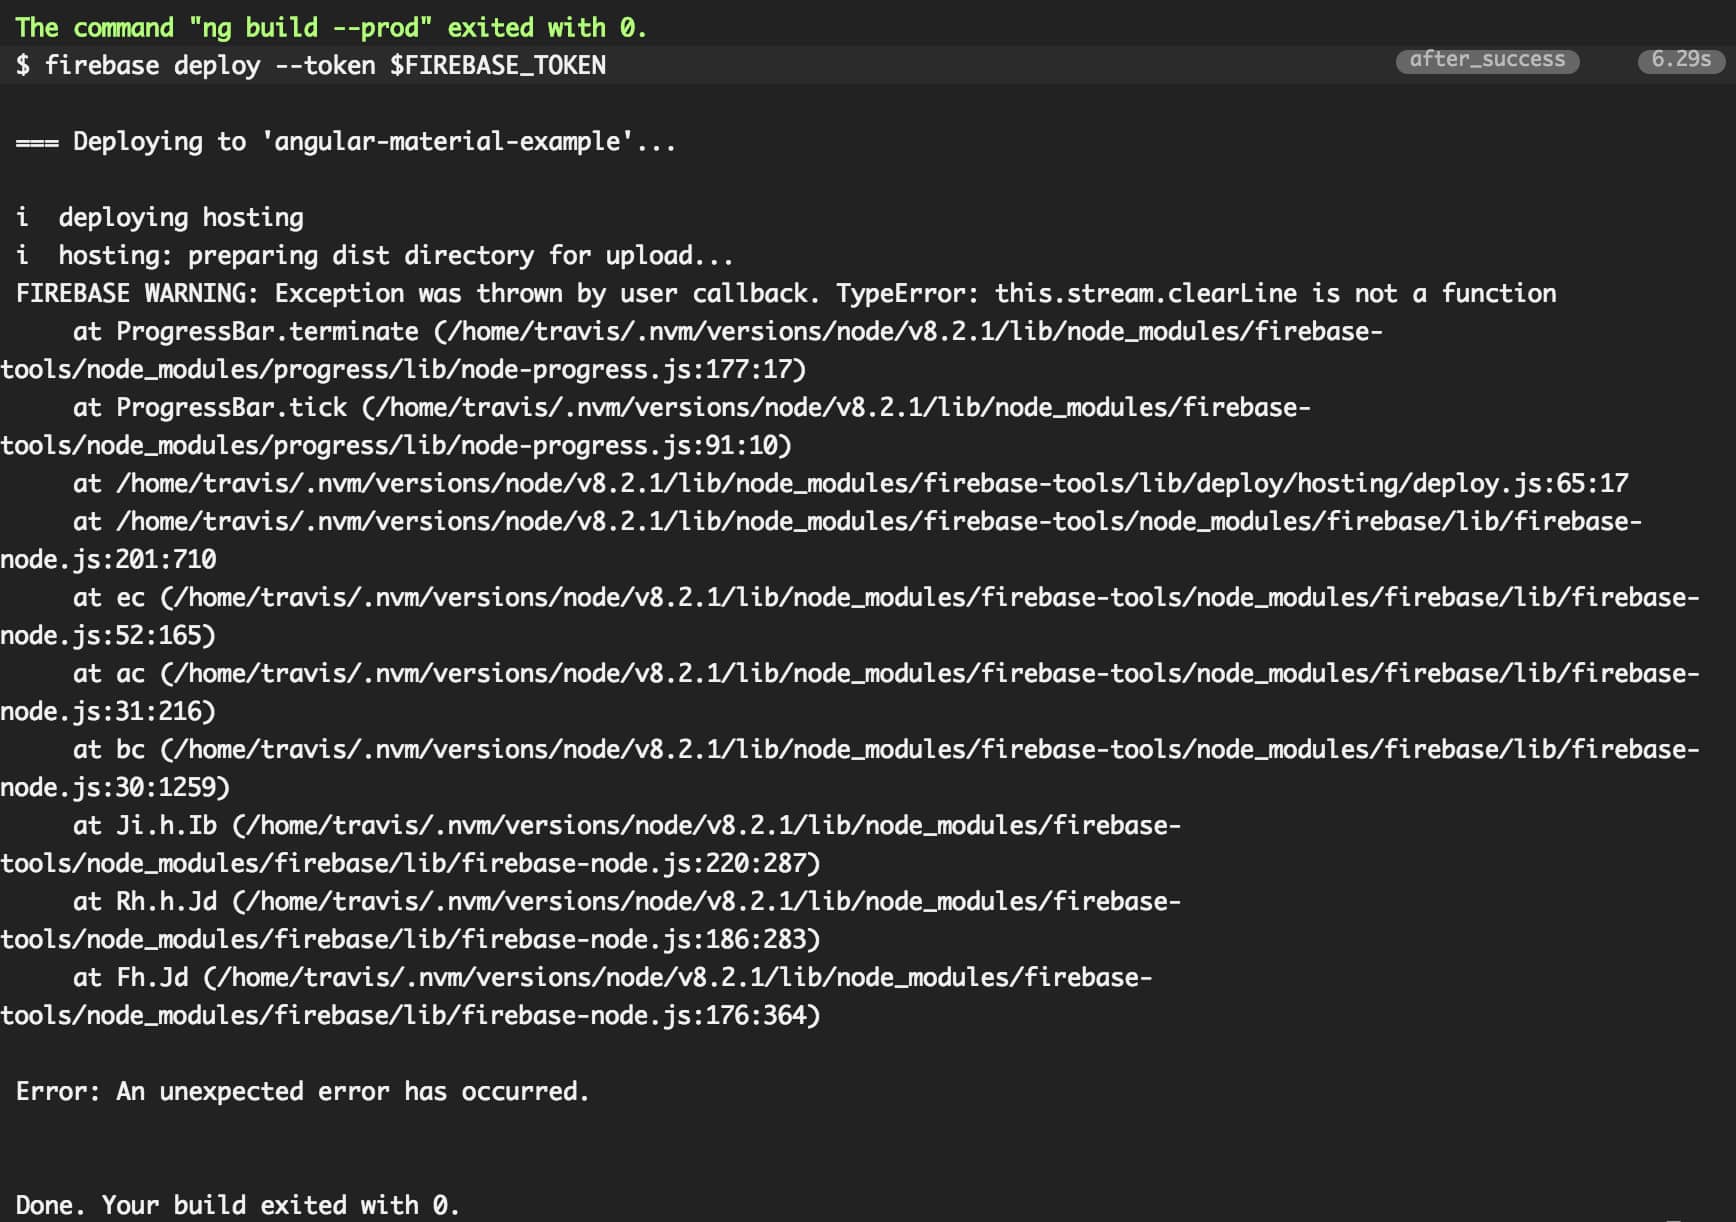
You can commit the new .travis.yml and see the automated process! But there is still one extra step.
5 - Greenkeeper
Greenkeeper is an automated dependency management tool. When integrated with your Github repository, it will send a PR so you can update your NPM packages. This service is also free for public repositories.
If you don’t have Greenkeeper enabled for your repos, please go to https://github.com/integration/greenkeeper and sign in with your GitHub account.
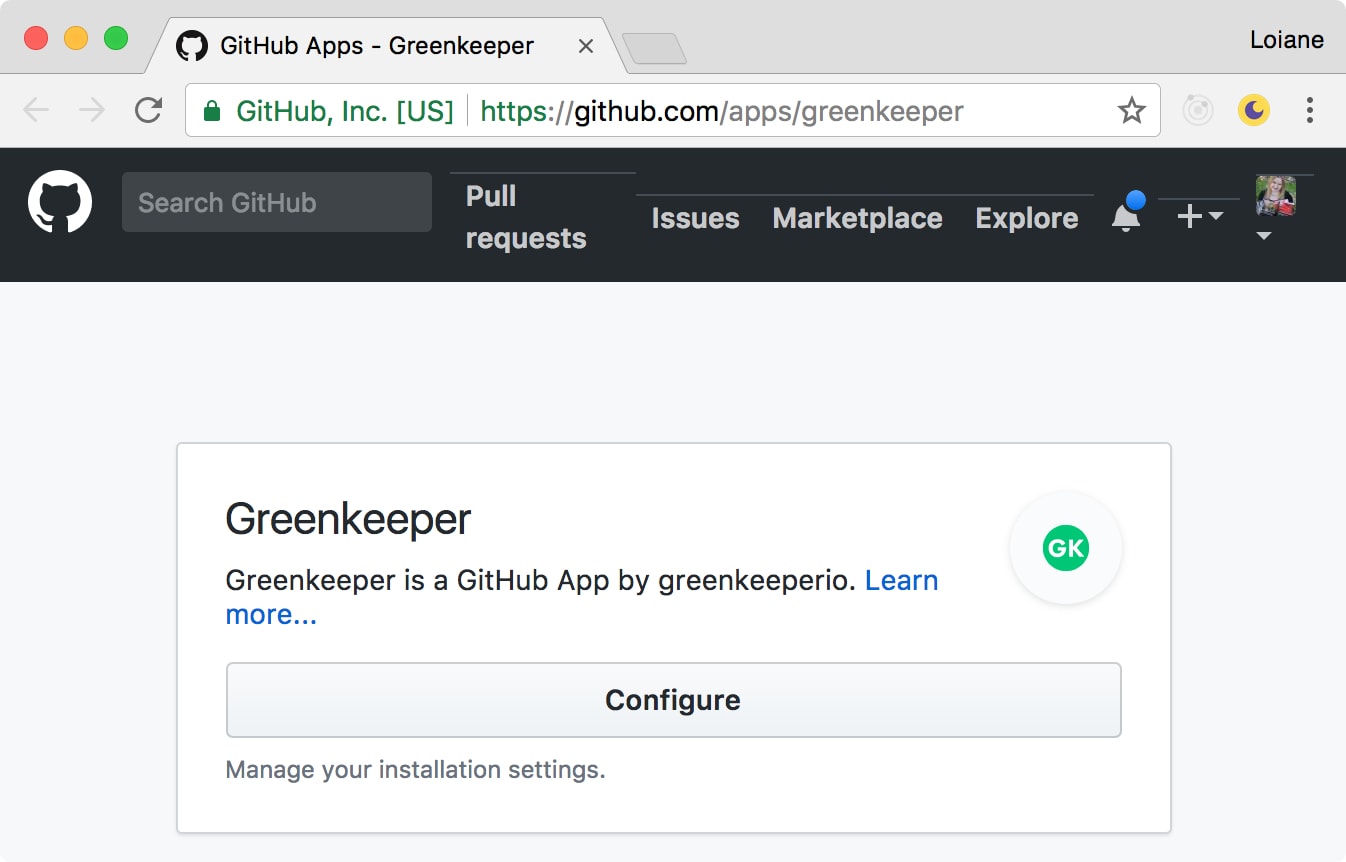
Select the repositories you would like to enable Greenkeeper. It is not recommended to enable it for all your repositories. Also,Greenkeeper requires to have CI tool such as Travis enabled in the repository to be able to work its magic. For our example, let’s add our project:
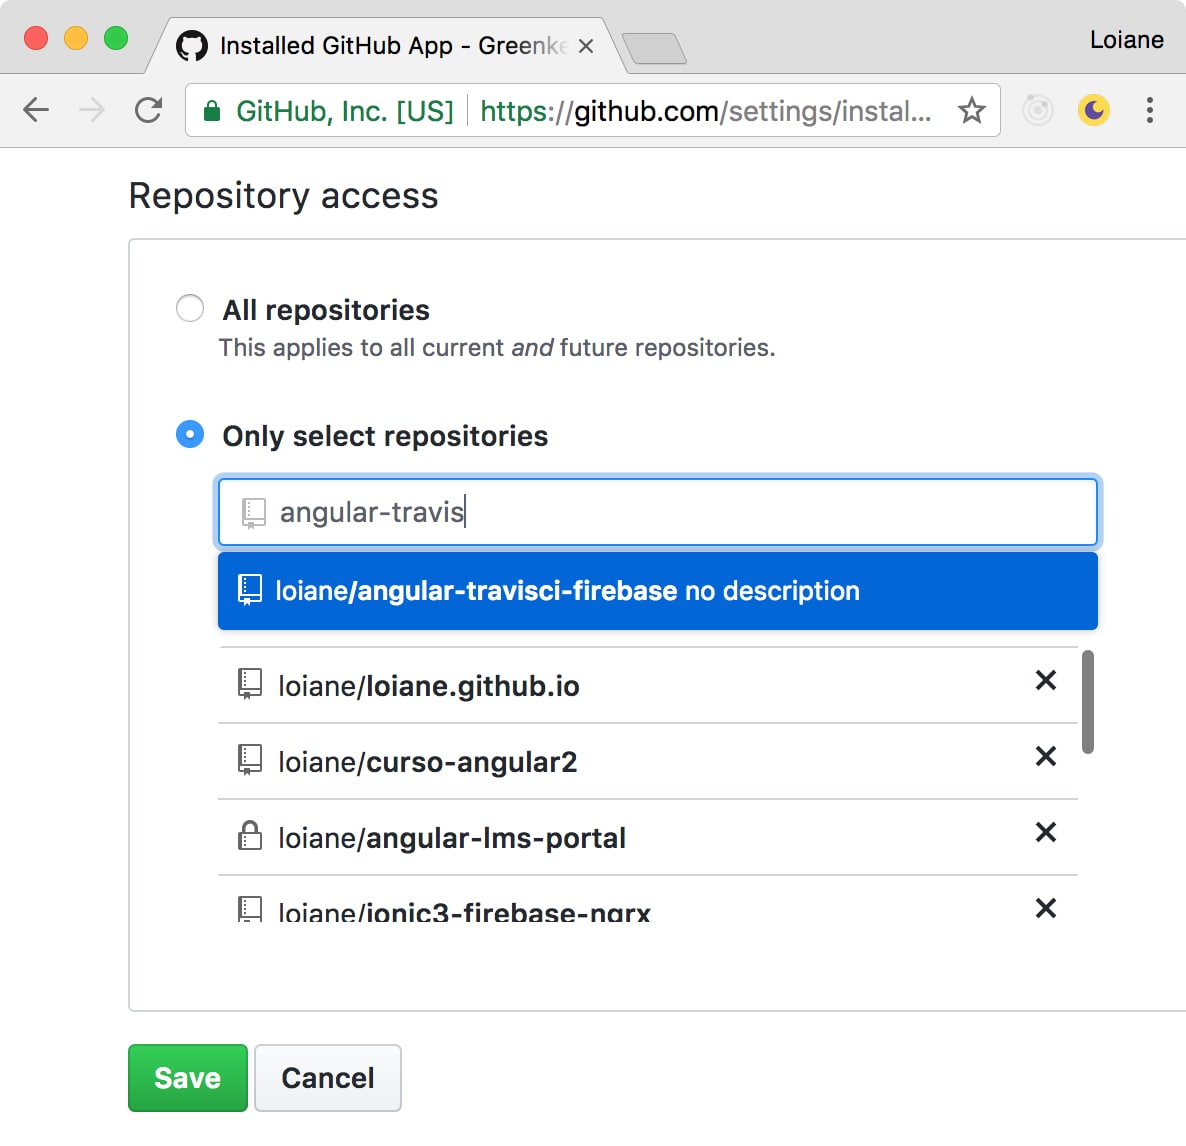
As soon as we add our project to Greenkeeper, it will send an inital Pull Request to update package.json packages (if there is any outdated) and also to add badge to README.md file. It will automatically trigger the CI process to verify if the build is still OK and if so, we can merge the PR.
However, with our current Travis CI setup, Greenkeeper will fail:
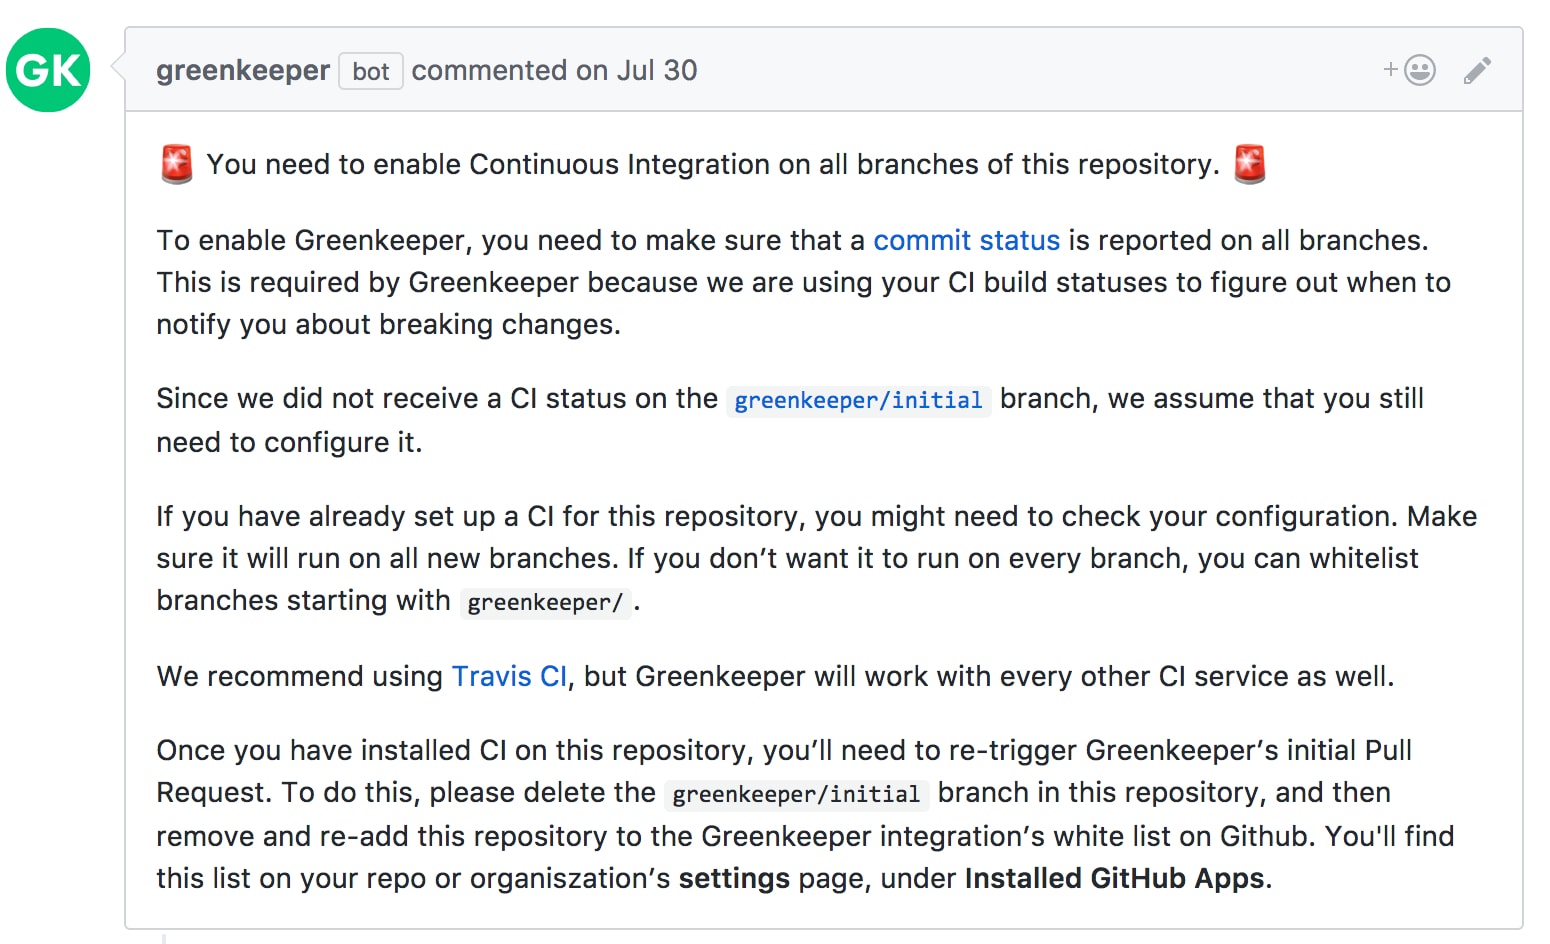
This happens because our Travis CI setup is only configured to run on the master branch, and Greenkeeper creates a separate branch with the changes to send the PR.
5.1 - Greenkeeper + Travis CI + Firebase
Our current Travis CI setup is not 100%. Greenkeeper even suggests in the initial PR to add the greenkeeper regex to the list of allowed branches:
branches:
    only:
      - master
 +    - /^greenkeeper/.*$/
However. we still have two issues:
- The Firebase deploy will be execute for every Greenkeeper PR, and we do not want this to happen. Ideally, we only want to run
firebase deploywhen we commit to themasterbranch. - If this is an open source project, other developers can send PRs with fixes/enhancements. We also want to be able to verify if the build is still OK if we merge the PR - but not deploy the changes until they are in the
masterbranch.
Let’s see how we can fix this.
6 - Updating .travis.yml config (last version!)
So we are going to remove the branches config from .travis.yml and verify after each build if the CI process was trigged from the master branch. If is from master then we trigger the firebase deploy, otherwise, the build is executed and the deploy is skipped.
Below is the .travis.yml file I use for my Angular CLI + Firebase hosting + Greenkeeper projects:
language: node_js

node_js:
  - node

before_script:
  - npm install -g --silent firebase-tools
  - npm install -g --silent @angular/cli

script:
  - ng build --prod

after_success:
  - test $TRAVIS_BRANCH = "master" && test $TRAVIS_PULL_REQUEST = "false" && firebase deploy --token $FIREBASE_TOKEN --non-interactive

notifications:
  email:
    on_failure: change
    on_success: change
When Travis builds a PR targeted at master, $TRAVIS_BRANCH will be set to “master”. So to make sure this is really only executed for master, you need to use test $TRAVIS_BRANCH = "master" && test $TRAVIS_PULL_REQUEST = "false".
You can check other Travis environment variables that can be used at https://docs.travis-ci.com/user/environment-variables/#Default-Environment-Variables
You can copy this version and use in you projects as well!
This is the same setup I use for the Angular examples published in this blog!
6.1 - Testing everything together
Just to make sure our build process will work as we expect, let’s perform two tests:
1 - PR to master branch - we still want te build process to be verified, but no Firebase deploy:

Great! The deploy was skipped.
2 - Master branch build - we want to update our Firebase deploy with the latest changes:
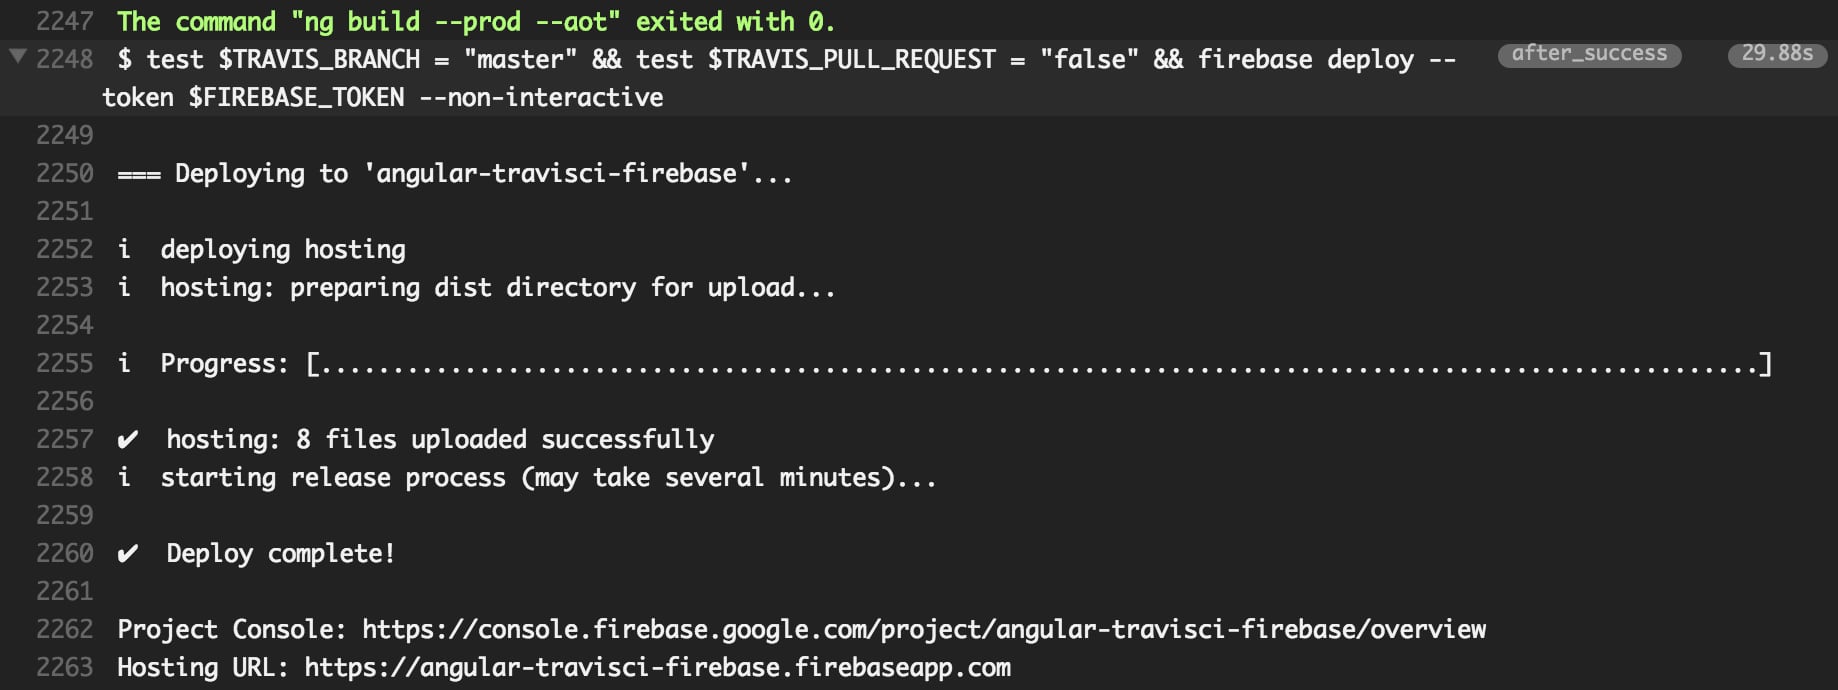
Perfect! :)
Source code and live demo
Source code available on GitHub
References:
Happy coding!
