Jetty and Eclipse Integration in 3 Steps
This tutorial will walk you through out how to integrate Jetty and Eclipse and how to run a web application on Jetty server inside Eclipse.
Steps:
- Install Jetty Eclipse plugin
- Create web application
- Run web application
Installing Jetty Eclipse Plugin
- When you add a server to the Servers view, you will not see an option for Jetty as you will find for Tomcat, JBoss, Apache, etc.
- First you need to install a plugin.
- Go to Eclipse -> Install new Software menu.
- Click on add and type Jetty for Name and http://run-jetty-run.googlecode.com/svn/trunk/updatesite for Location.
- Select the Jetty plugin to install. Click on Next and follow the installation:

Creating a Web Application
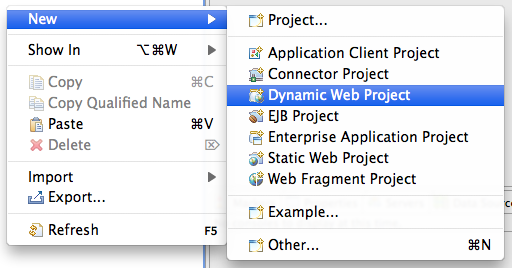
When you restart Eclipse, got o Project Explorer view or the New menu and click on New -> Dynamic Web Project:
Configure the Project, create a name for it and click on Next:
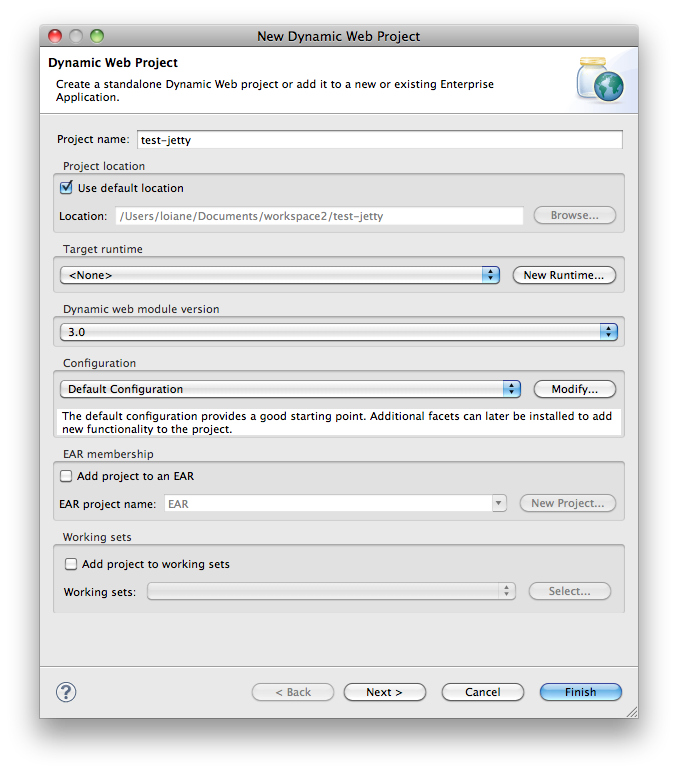
Click on Next:

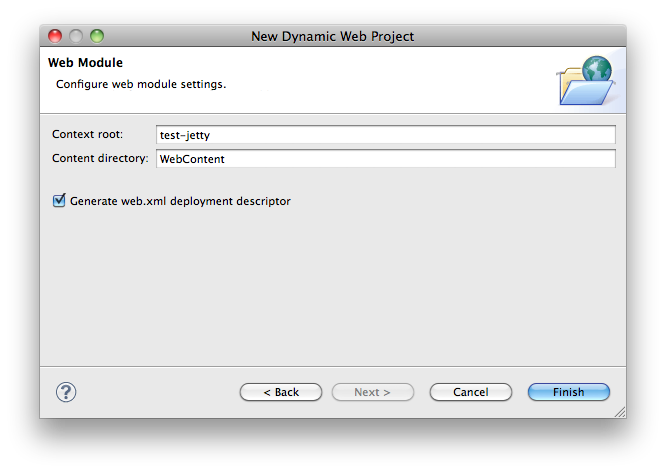
Configure the Web Module:
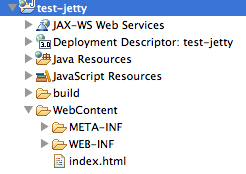
And the project is created. Create also a index.html file. The project structure should look like this:
Running the Web Application
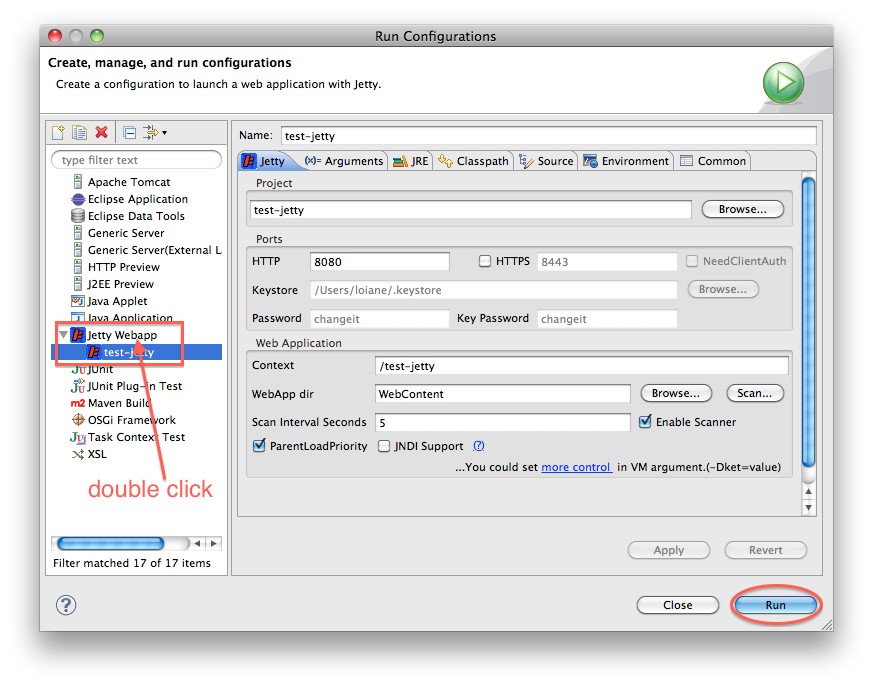
Select the application you want to run on Jetty.
Click on the Run button -> Run Configurations.
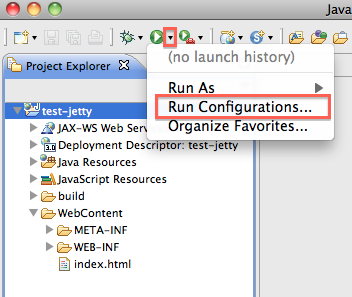
Configure your app on Jetty as shown in the picture bellow and click on Run:
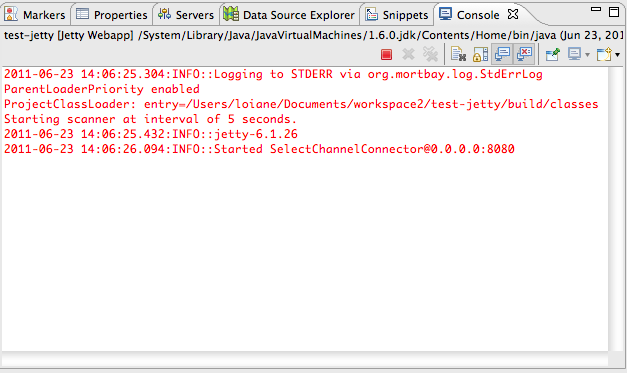
Wait for the server to start. You should get something like the following on your log:
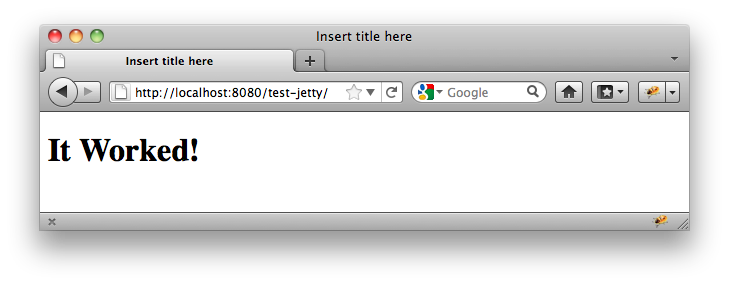
Open a browser and test the application!
Happy Coding!